HTML Components
Overview
HTML Components in Myop are self-contained units that can be dynamically loaded and managed within your application. They allow for real-time UI modifications without requiring redeployment or backend changes, enabling developers to experiment with UI/UX changes independently.
This guide explains how to use the Myop Dashboard to create and manage HTML components.
AI HTML Components use the Local Frame render mode, which provides complete isolation in an iframe. This is the recommended approach for AI-generated components. For detailed information on how to develop AI HTML components with proper structure, data loading, and APIs, see the 🤖 AI HTML Component Guide.
Table of Contents
Render Mode
There are four possible ways to render your HTML code in Myop:
- None (Default):
- Description: Renders the component directly in the light DOM (no shadow DOM or encapsulation).
- Use case: When you want styles and markup to blend seamlessly with the parent document.
- Pros:
- Simpler debugging and styling.
- Full access to global styles and selectors.
- Cons:
- No encapsulation; styles may leak in or out.
- Open ShadowRoot:
- Description: Renders the component inside an open shadow DOM.
- Use case: When you want style encapsulation but still need access to the shadow DOM via JavaScript.
- Pros:
- Style isolation.
- Can access shadow DOM via
element.shadowRoot.
- Cons:
- Slightly more complex to debug.
- Closed ShadowRoot:
- Description: Renders the component inside a closed shadow DOM, completely hiding its internals from the outside.
- Use case: For internal components where strict encapsulation is needed.
- Pros:
- Maximum encapsulation; prevents accidental or intentional shadow DOM access.
- Cons:
- Cannot access
shadowRootfrom JavaScript. - Harder to debug or test.
- Cannot access
- Local Frame:
- Description: Renders a complete HTML document as a component in a fully isolated iframe.
- Use case: When absolute isolation is required — including scripts, styles, and layout.
- Pros:
- Complete isolation from the host page (CSS, JS, events).
- Useful for micro frontends or embedding untrusted content.
- Cons:
- Heavier than shadow DOM.
- Communication between frame and parent is more complex.
Creating Myop WebComponents
Follow these steps to create a Myop WebComponent from your HTML component:
-
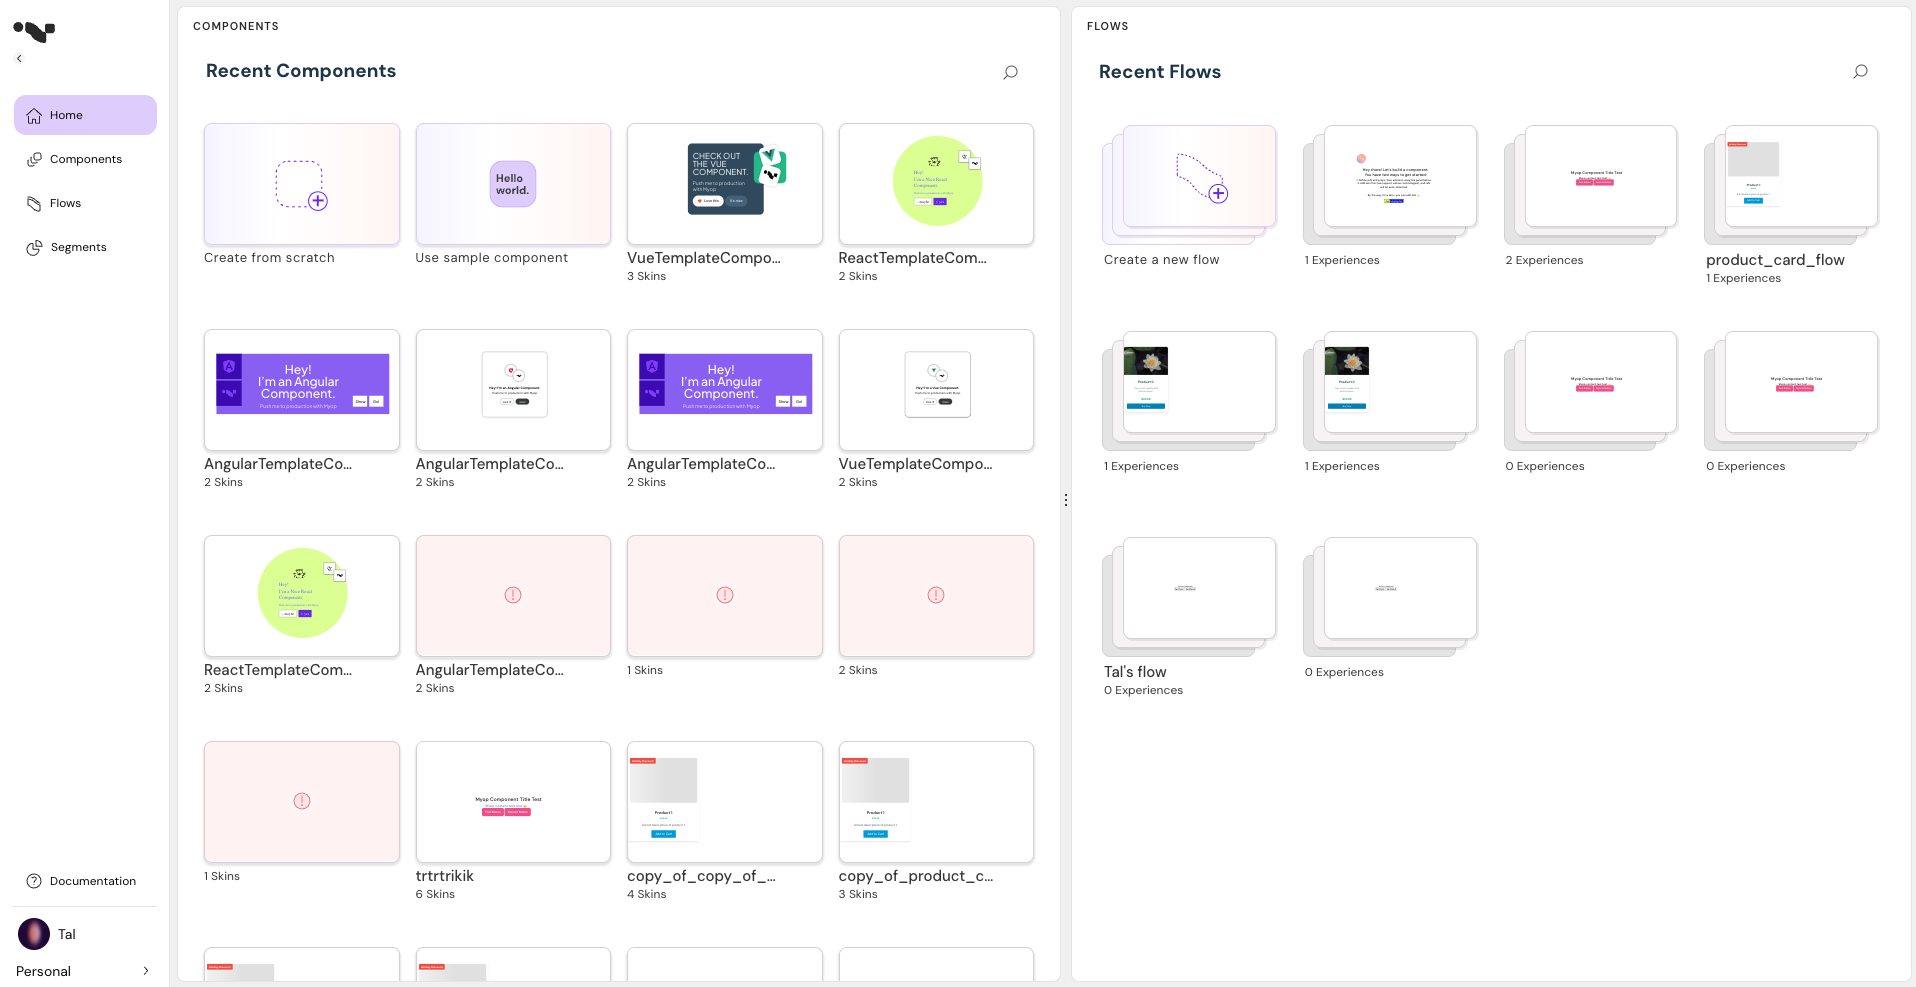
Open the Myop dashboard
-
To create a new component using a predefined template, click on the "Use sample component" button.
-
To create a new component from scratch, click on the "Create from scratch" button.
-
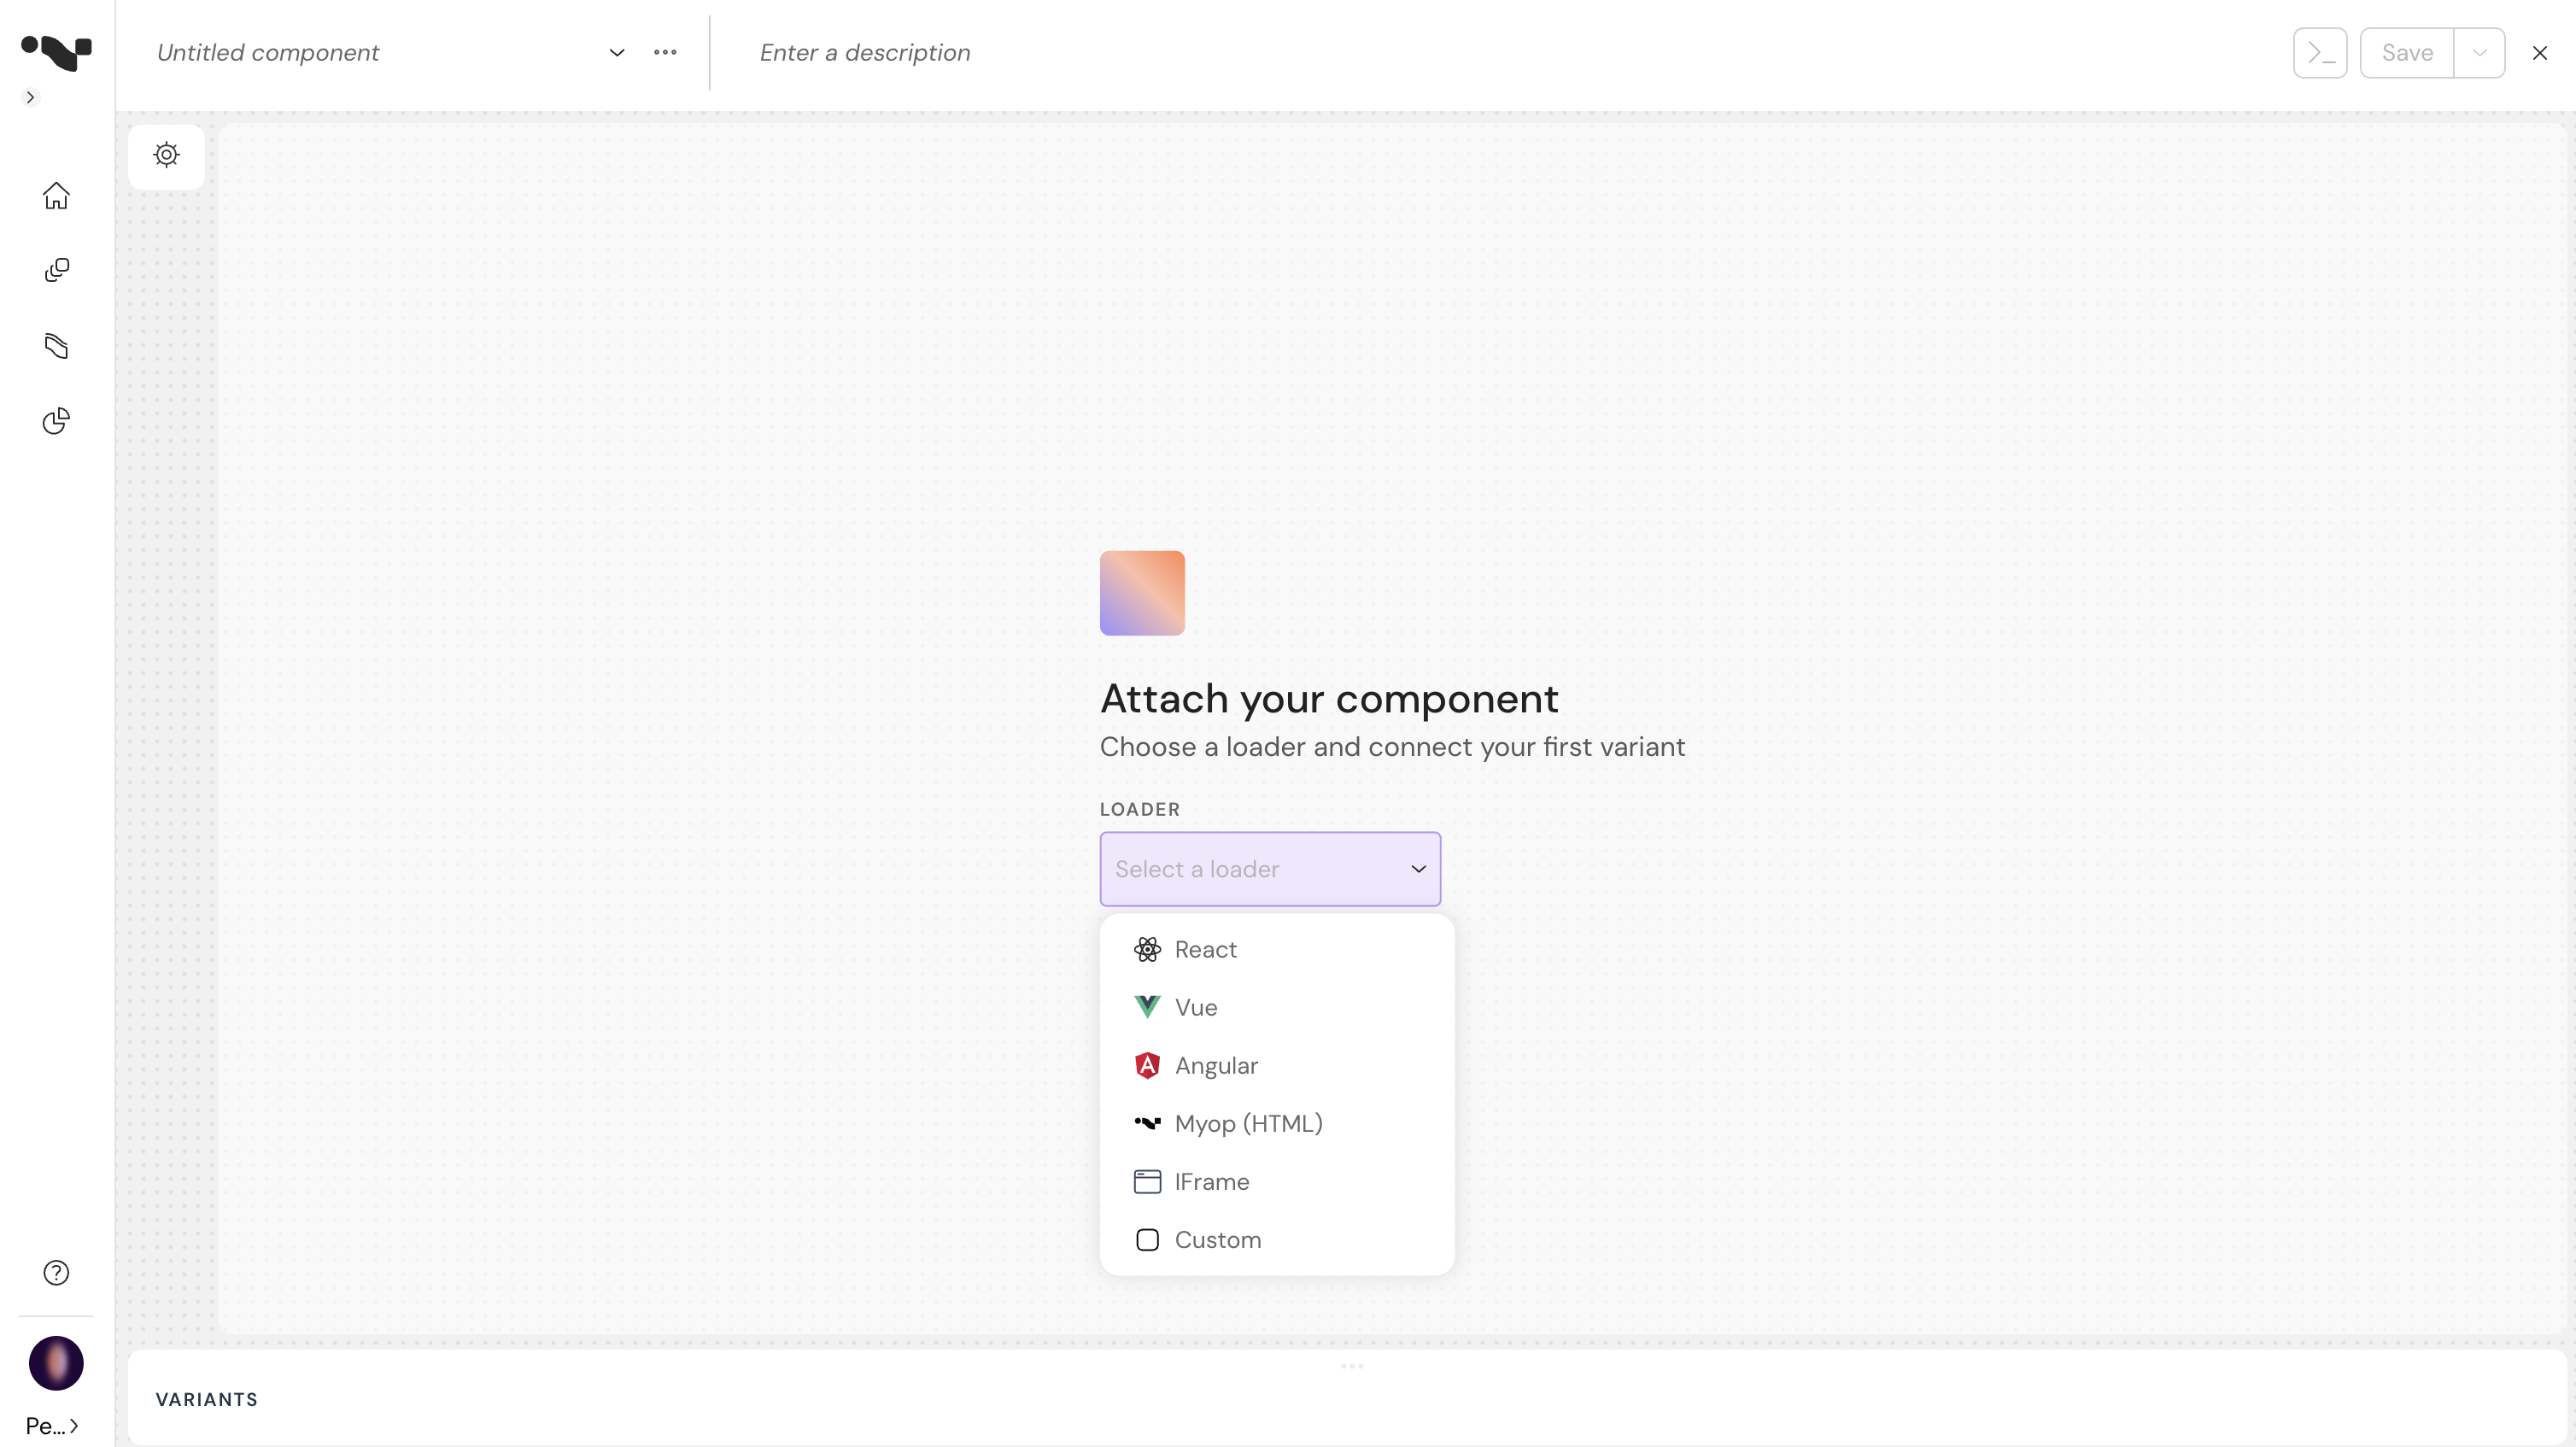
Choose Myop (HTML) loader type:
-
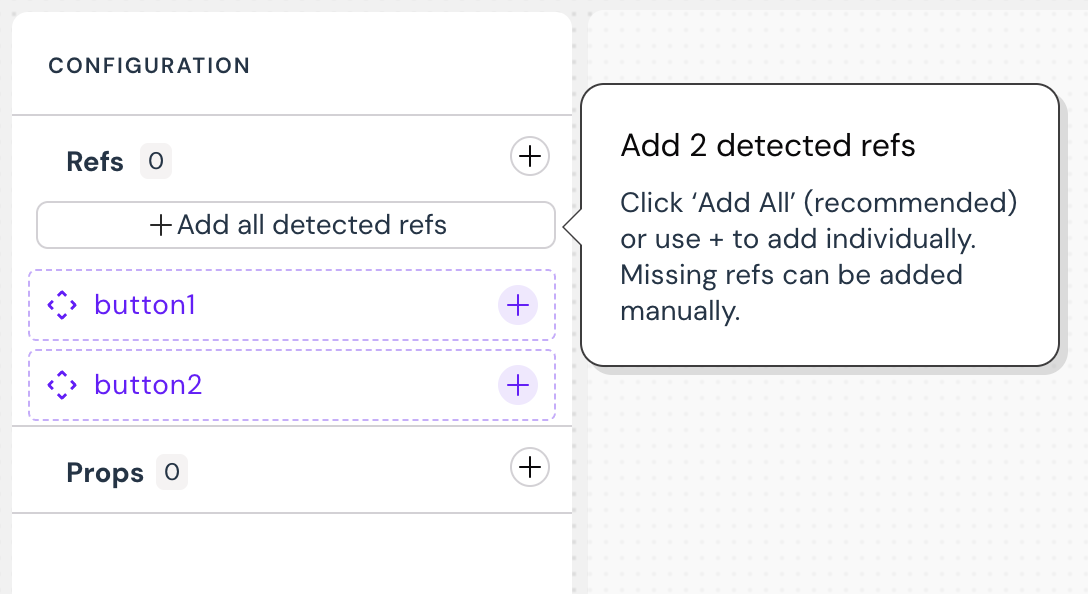
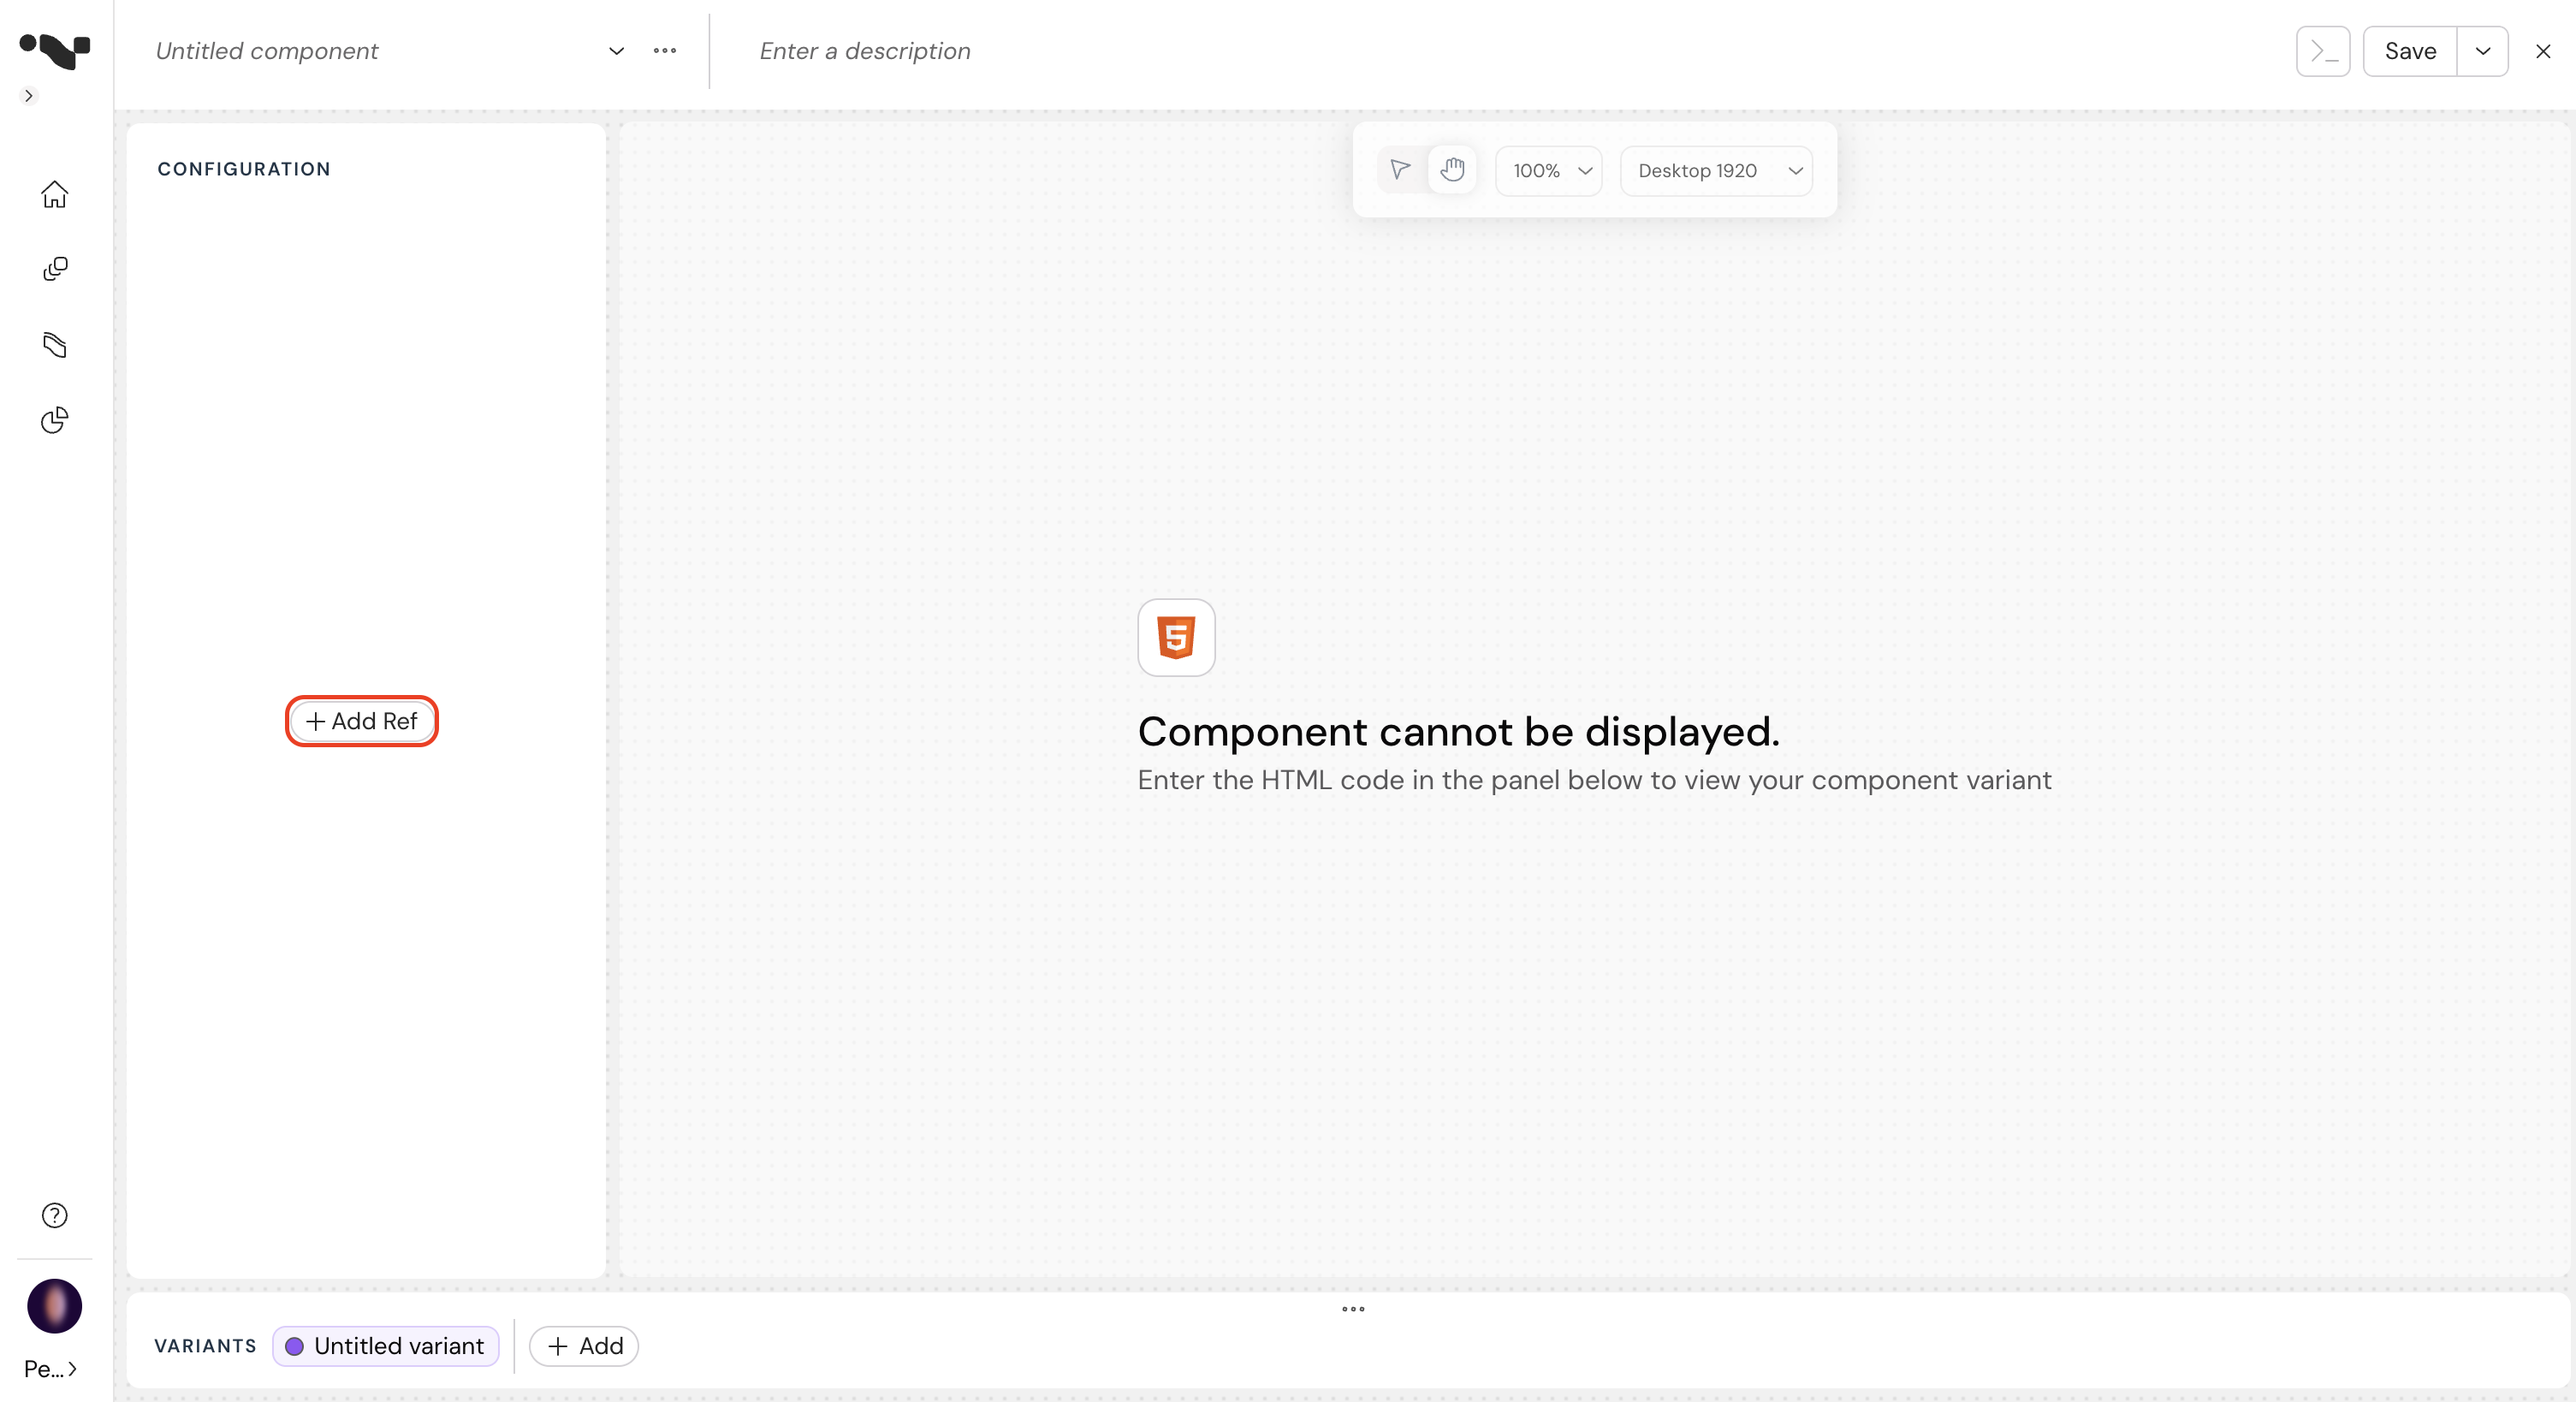
Define how this component connects to your host app using props and refs.
-
If you're using a template, you can add all detected refs. Otherwise, use the configuration panel to add your own refs and props.
-
Configure your component:
- Enter the component name and description.
- Choose the render mode according to the Render Mode section.
- Enter your HTML code in the "HTML" section.
- Click on the "Set to default" to set the relevant variant as the default one.
- Click on the Delete button to delete a variant.
- Click on the "Preview" button to copy the URL param and see the component in the browser.
- Note: this feature is available only after saving the component.
-
If you wish to generate an HTML template for your component with your configured refs, click on the "Generate" button.
-
If you wish to edit your HTML in a new window, click on the undocking into a separate window button.

Note: The GUID in the browser URL is the componentId that you'll need for later.
- Saving:
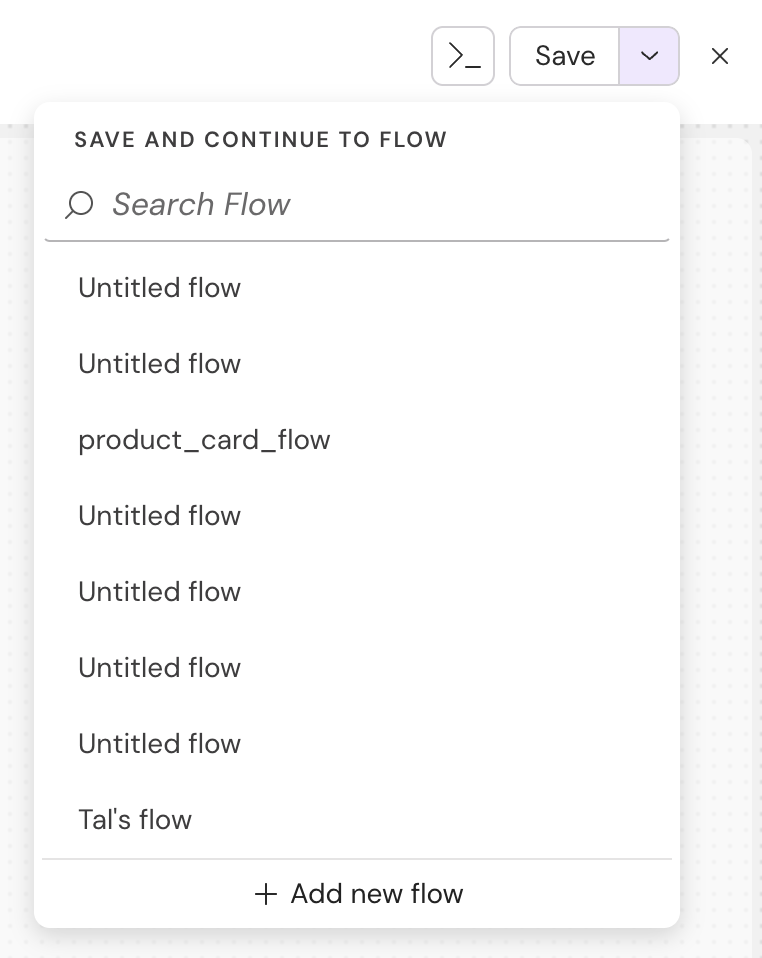
- If you want to save the component, click on the "Save" button
- If you want to attach the component to an existing "Flow", Click on the ChevronDown button to search for the relevant flow
- If you want to attach the component to a new flow, click on the (after the component itself was already saved)
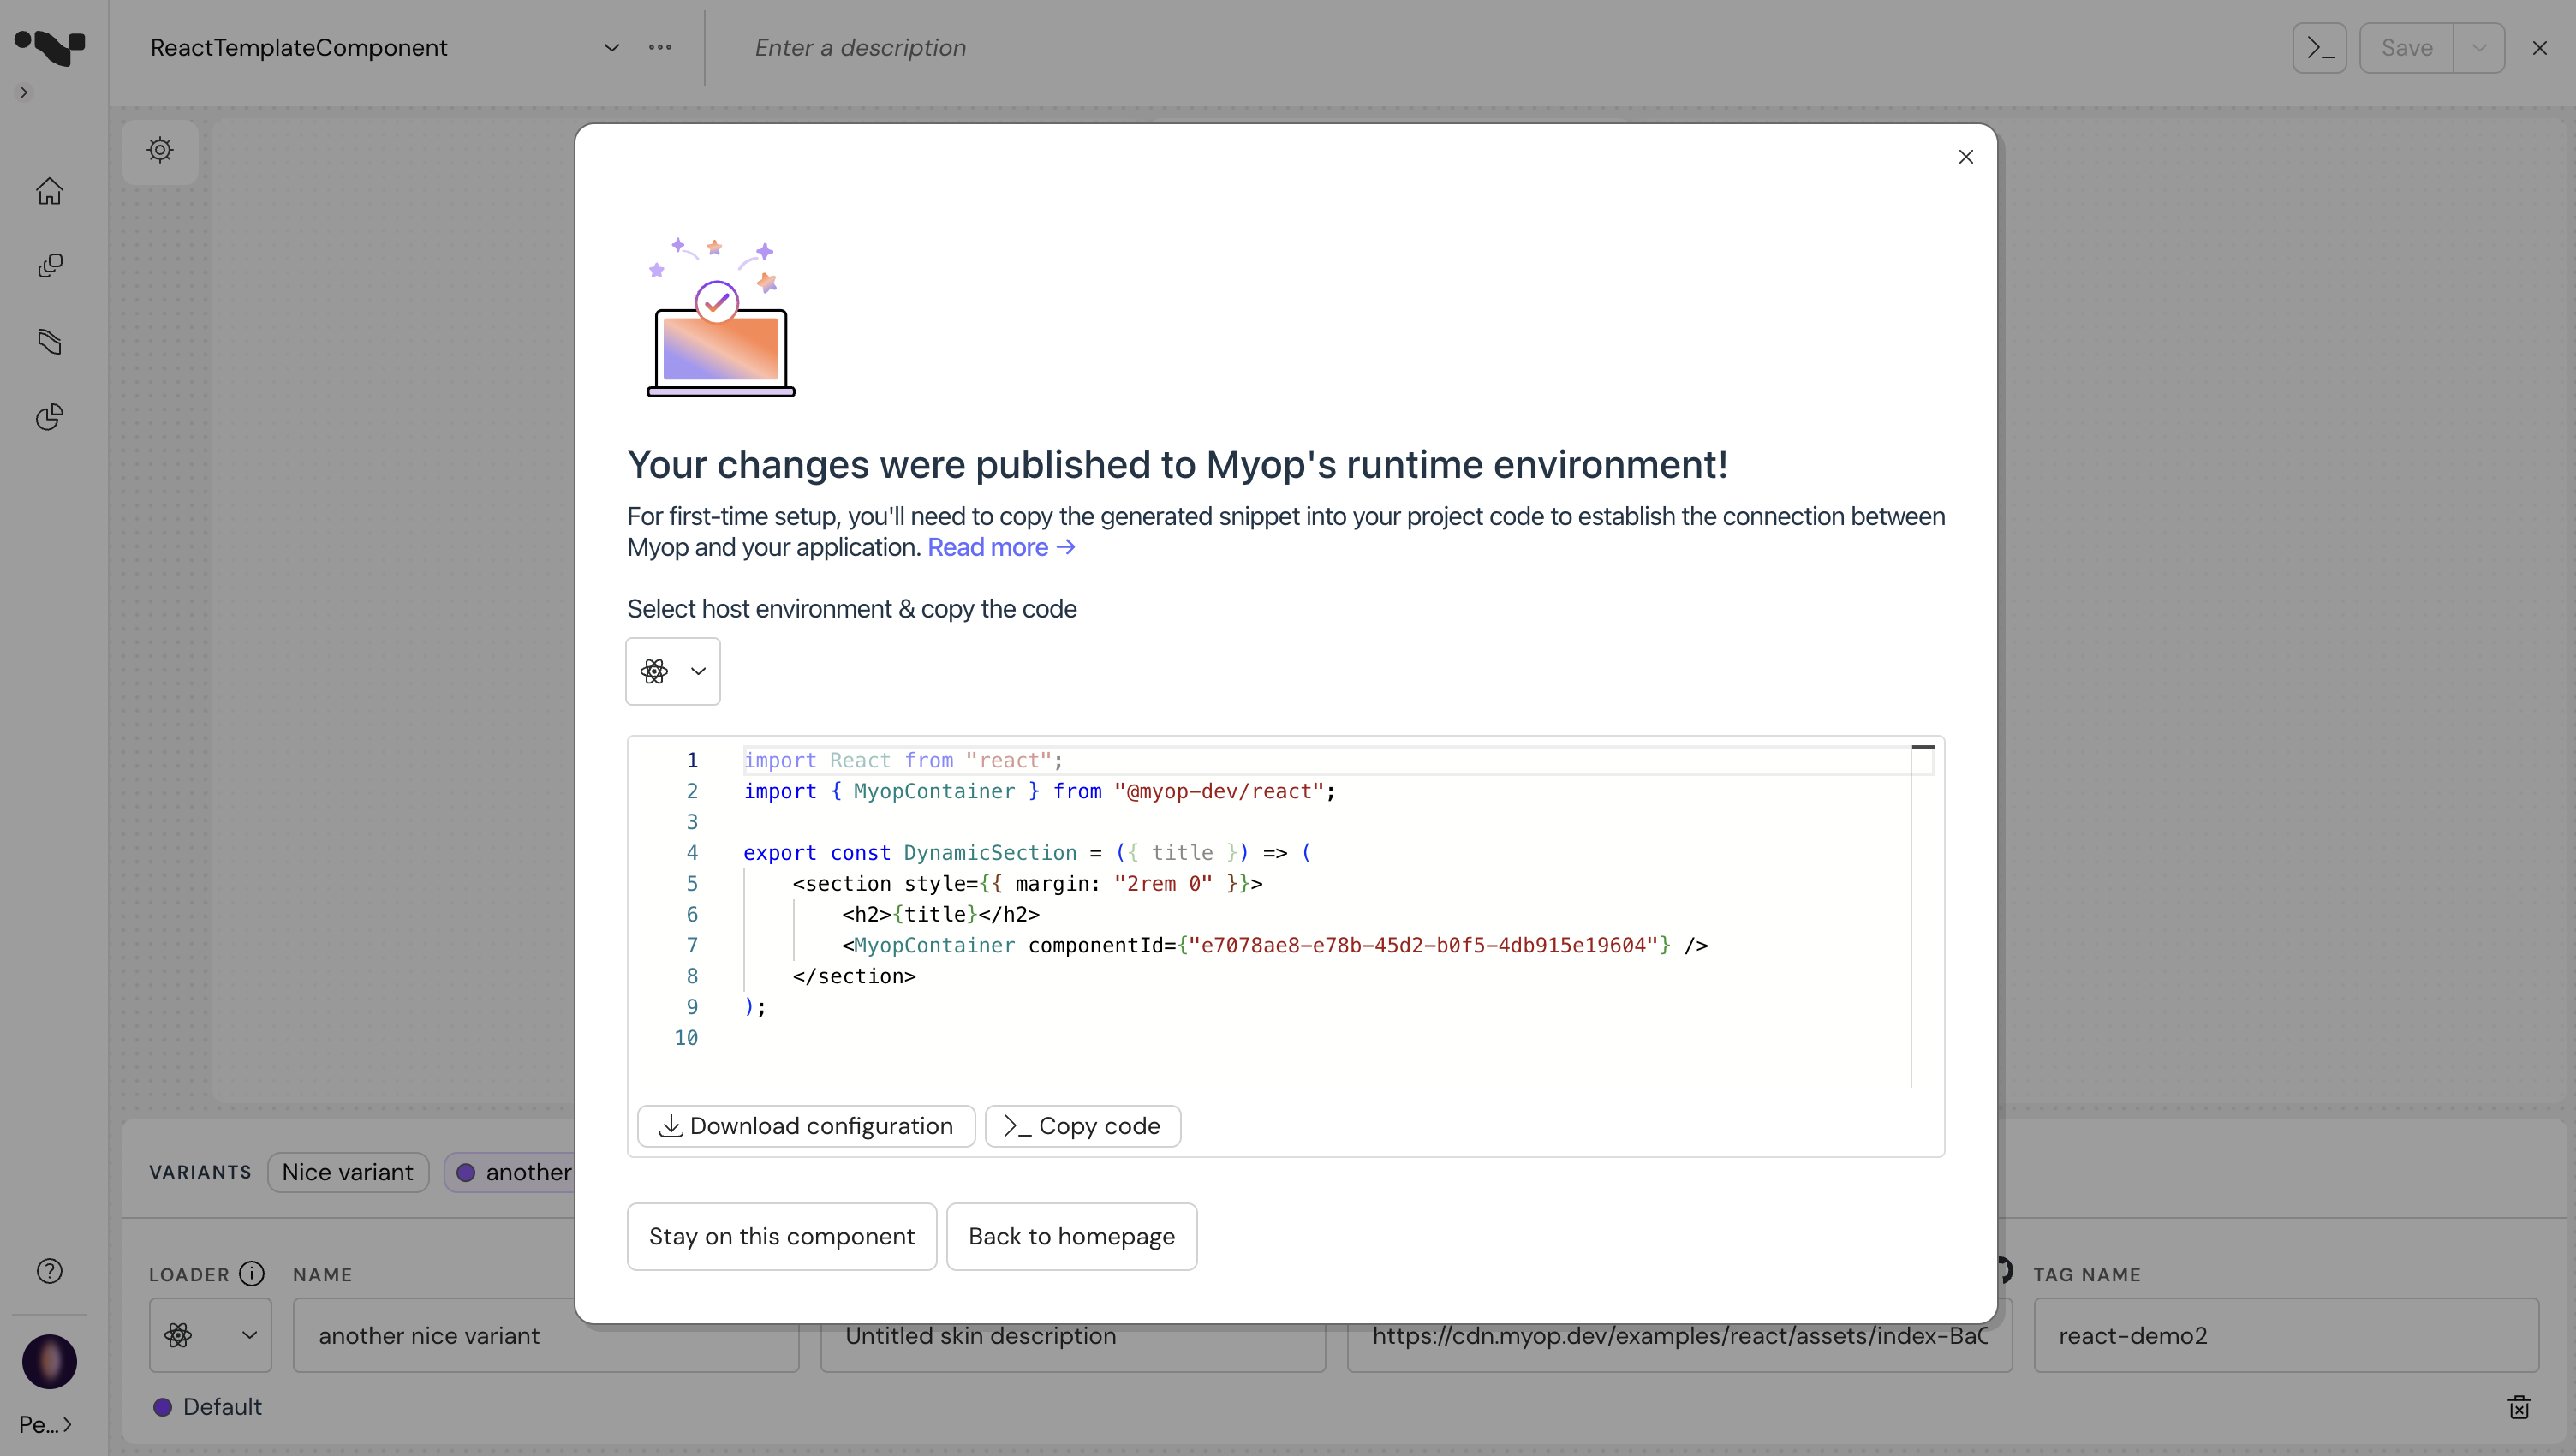
- The component is saved and published! You can copy the code snippet and add this to your host application.
Creating Flows
-
Open the Myop dashboard

-
Click on the "Create a new flow" button to add a new flow.
-
Add your component to the flow:
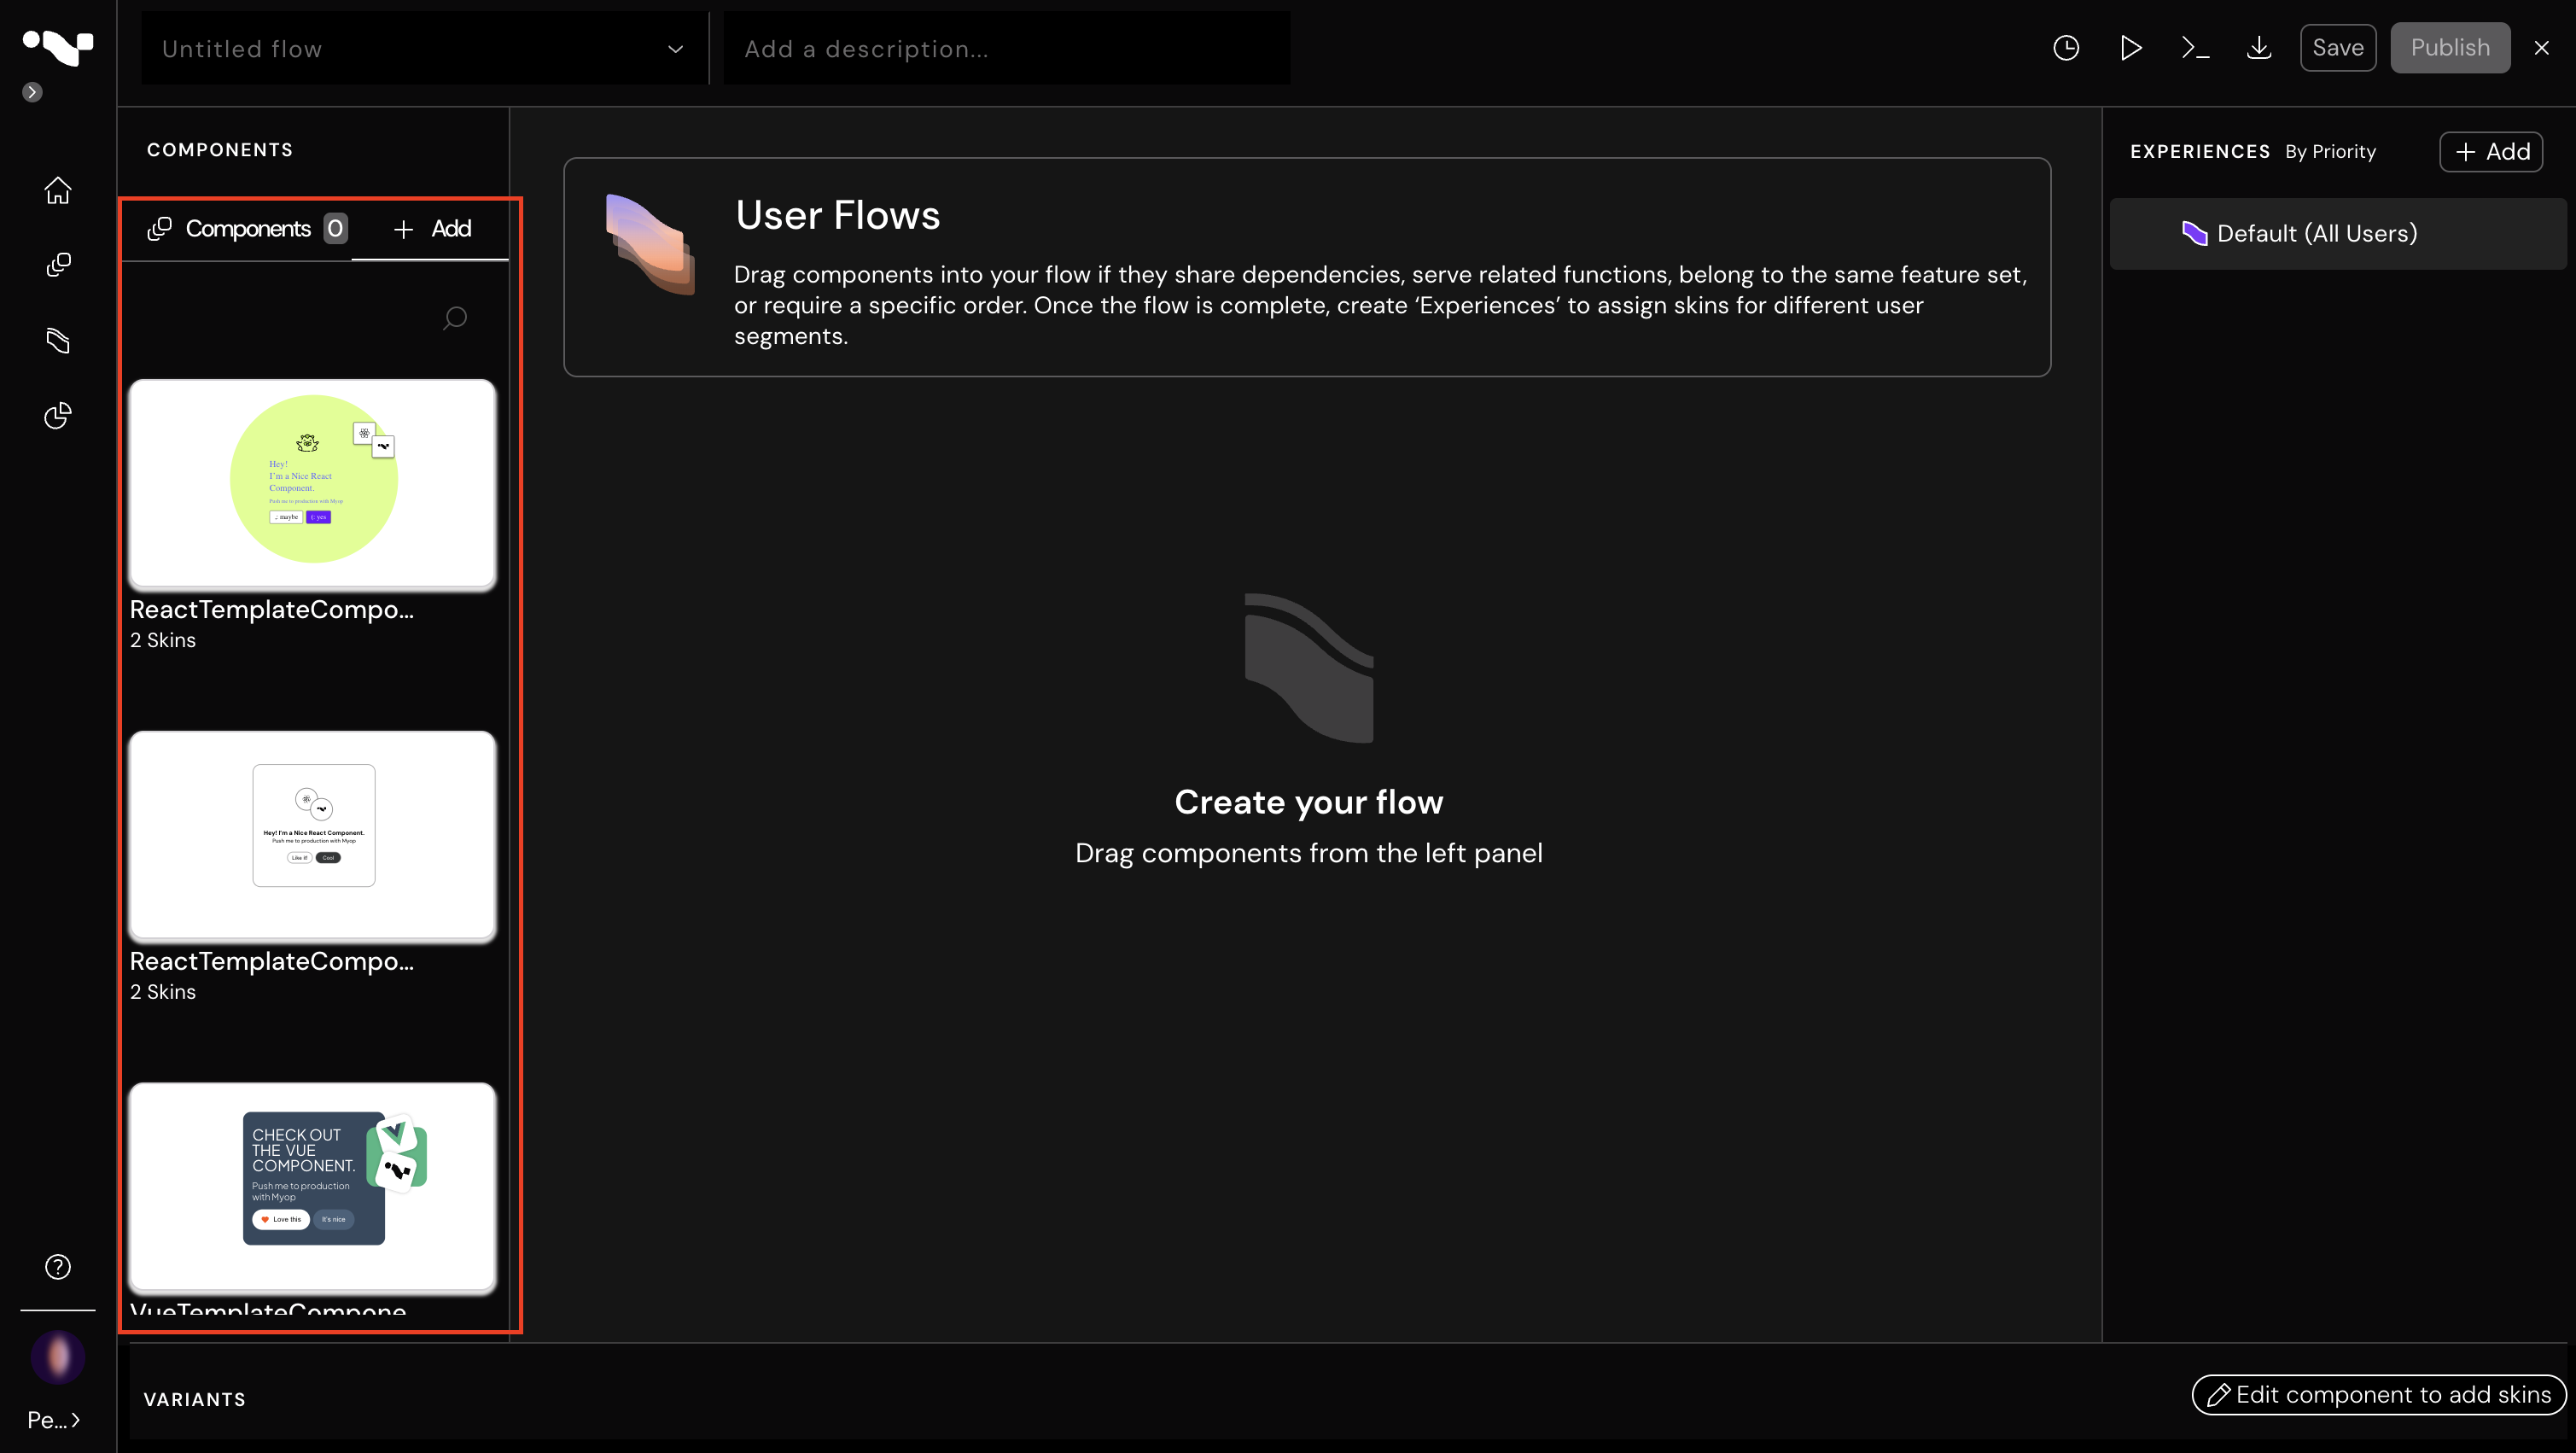
Note: The GUID in the browser URL is the flowId that you'll need later.
Using Myop Components in JS
To integrate Myop components into your application, copy the following code snippet:
import {hostSDK} from '@myop/sdk/host';
import {CloudRepository} from '@myop/sdk/helpers';

const componentId = 'c6efaea7-db53-4507-a836-a9acffe787b1';
const flowId = '49283058-a787-4fa5-b0d2-516b2e6dc5e3';

async function loadMyopComponent() {
    const componentConfig = await CloudRepository.Main.fetchComponent(componentId, flowId);
    const container = document.getElementById('myop-container')
    const component = await hostSDK.loadComponent(componentConfig, container);
}

loadMyopComponent();
Additional Resources
- For more information on the Myop platform, visit our website.
- For API documentation, refer to our docs.