React Integration Guide
Overview
This guide explains how to integrate your React components with Myop, allowing you to expose them as web components and incorporate them into Myop flows.
Table of Contents
- Exposing React Components
- Creating Myop WebComponents
- Creating Flows
- Using Myop Components in React
- Communication with React Components
Exposing React Components
Use the expose function to directly expose your React component:
import { App } from './app';
import { expose } from '@myop/react-remote';

expose(App, 'test-comp-1');
Creating Myop WebComponents
Follow these steps to create a Myop WebComponent from your React component:
-
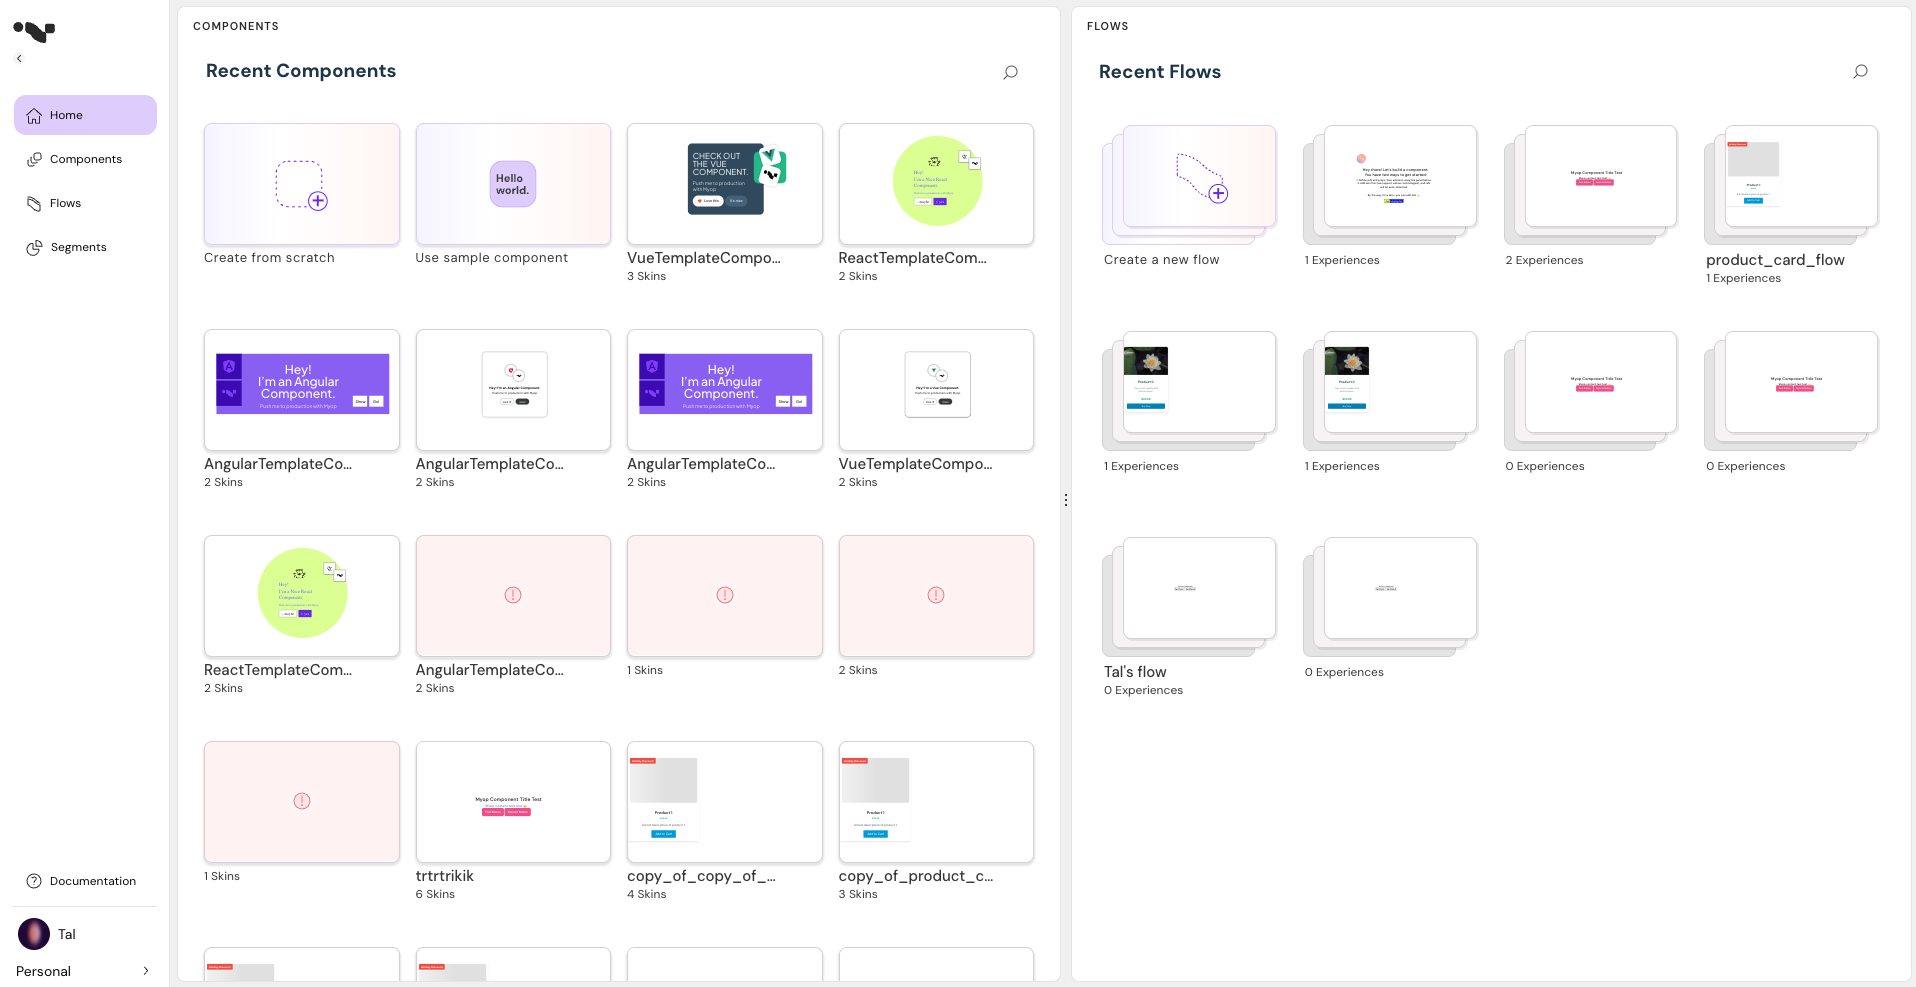
Open the Myop dashboard
-
To create a new component using a predefined template, click on the "Use sample component" button.
-
To create a new component from scratch, click on the "Create from scratch" button.
-
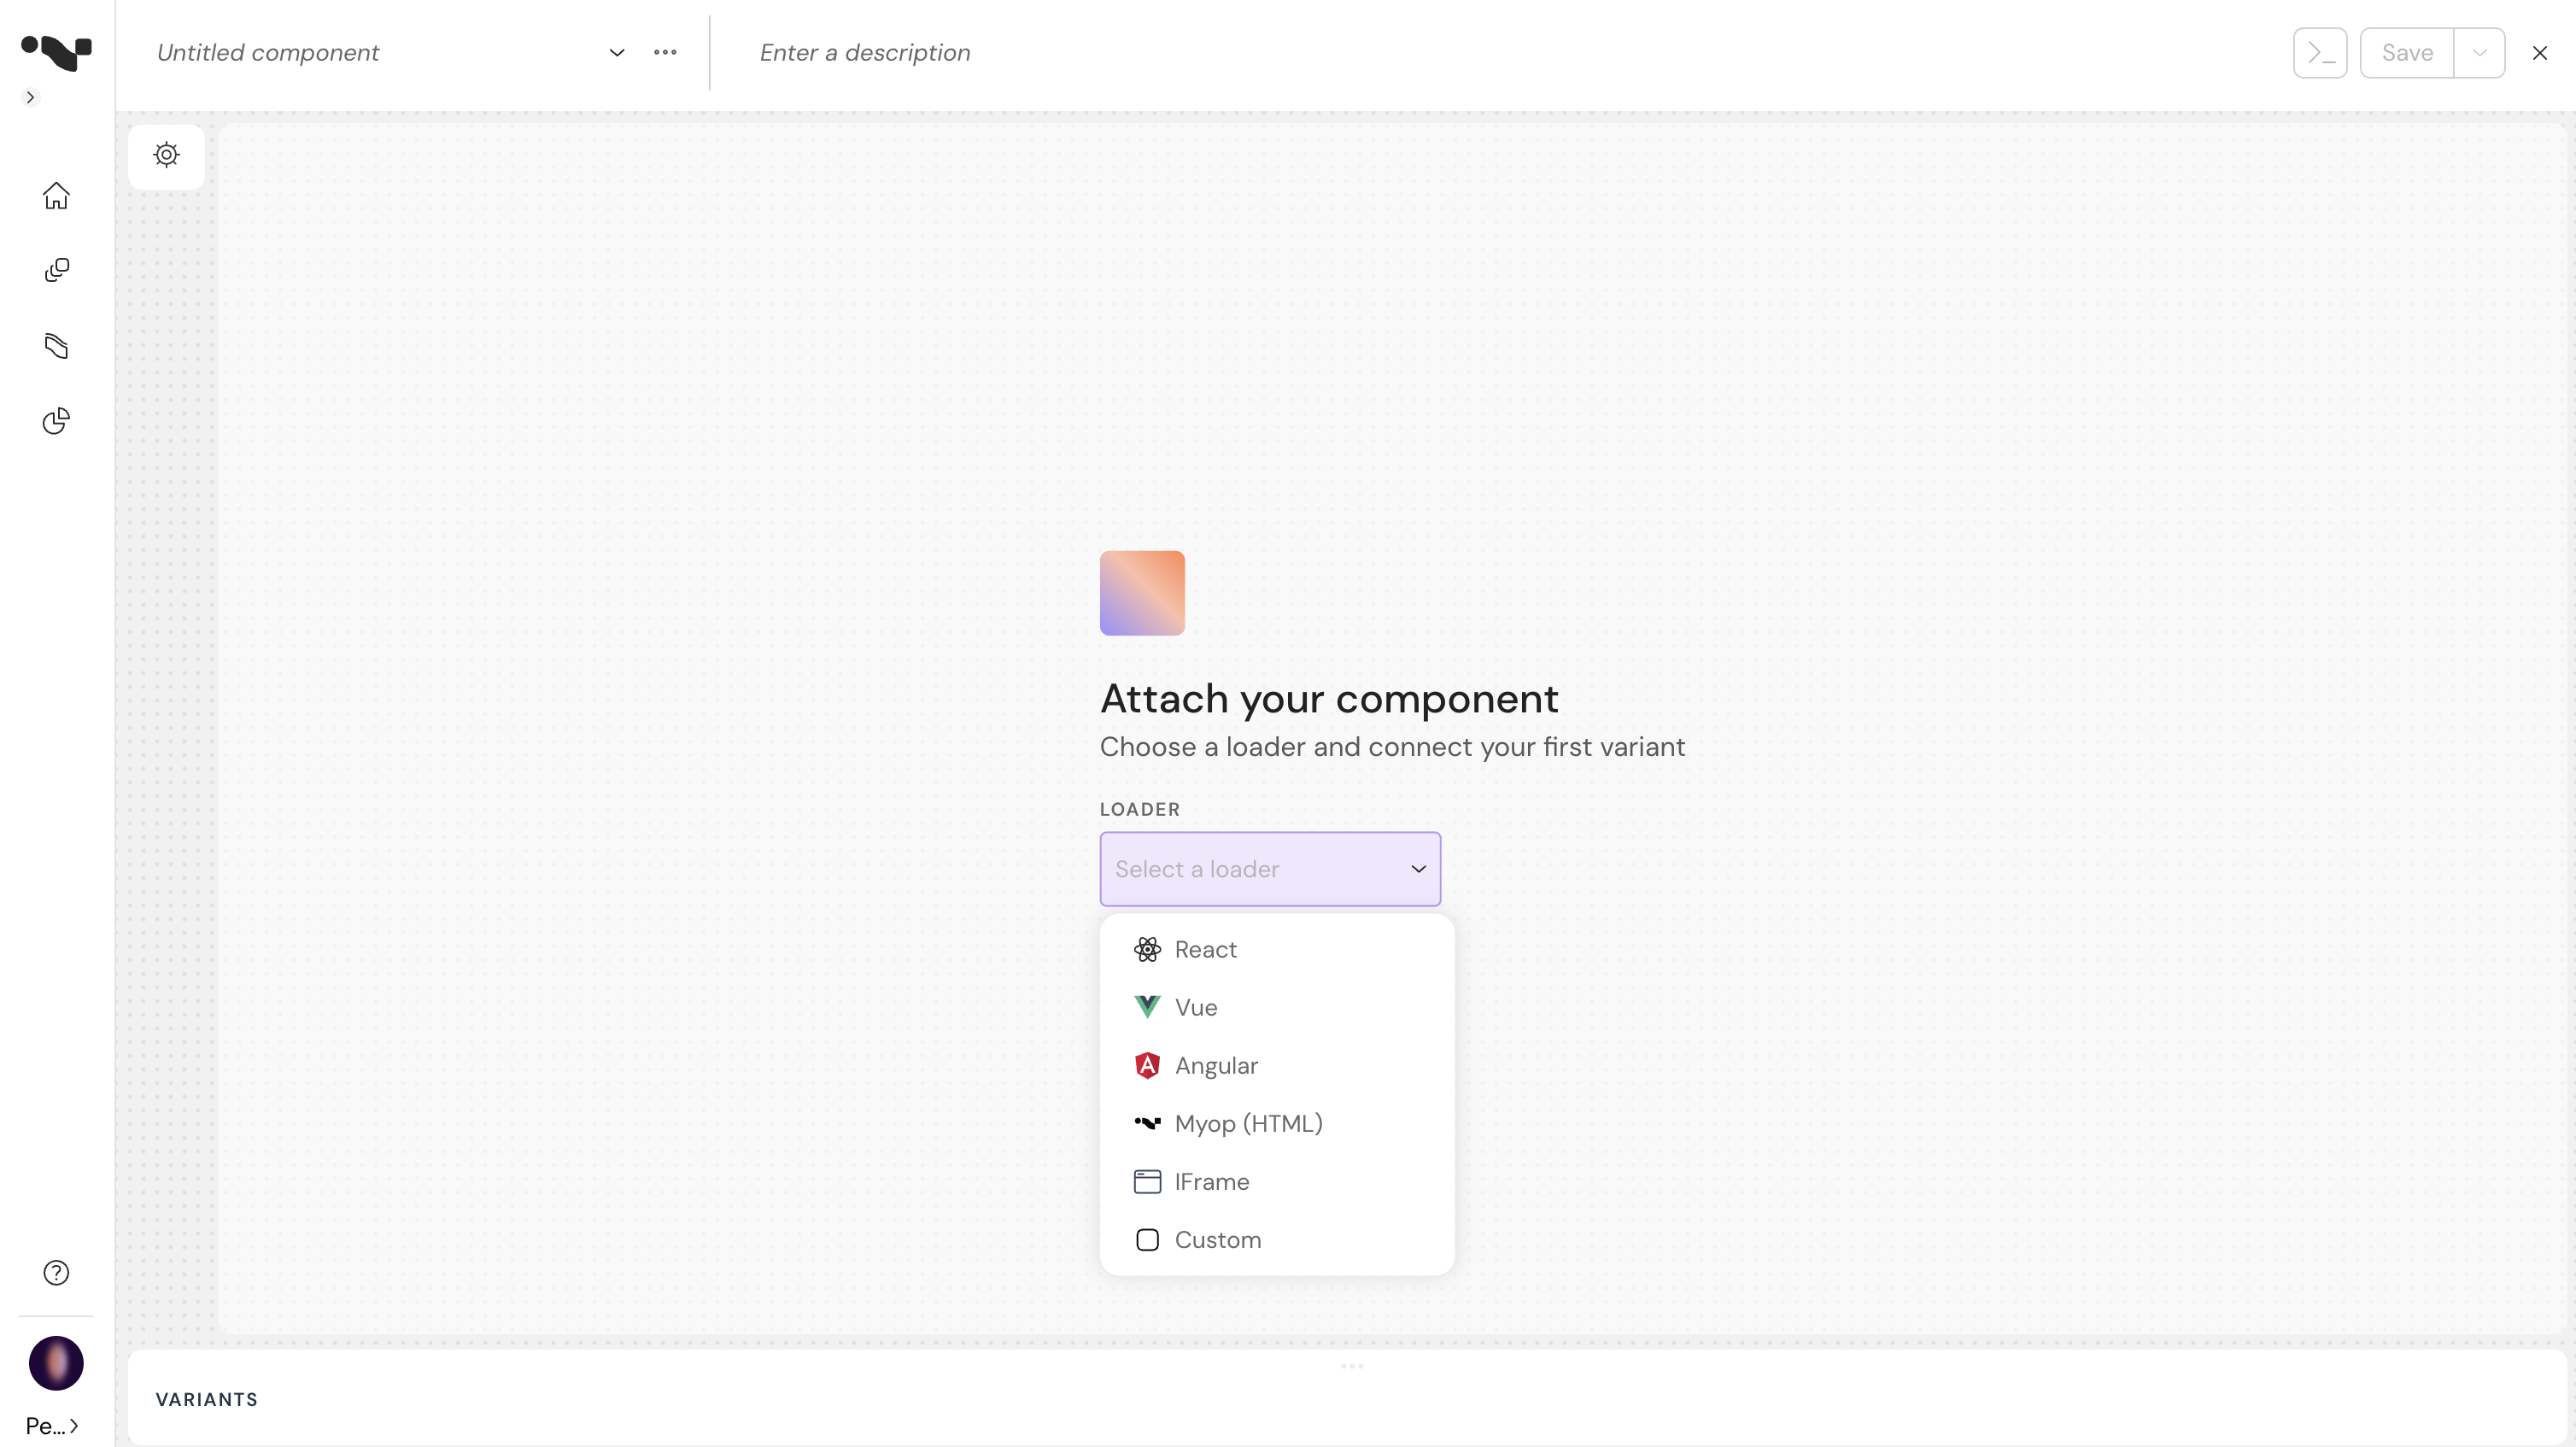
Choose React loader type:
-
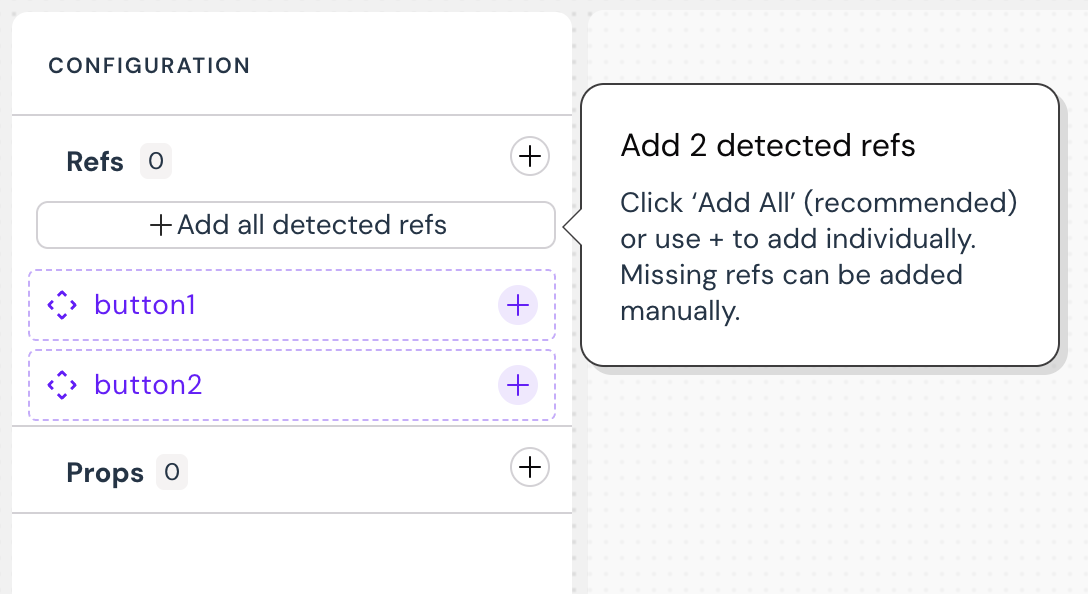
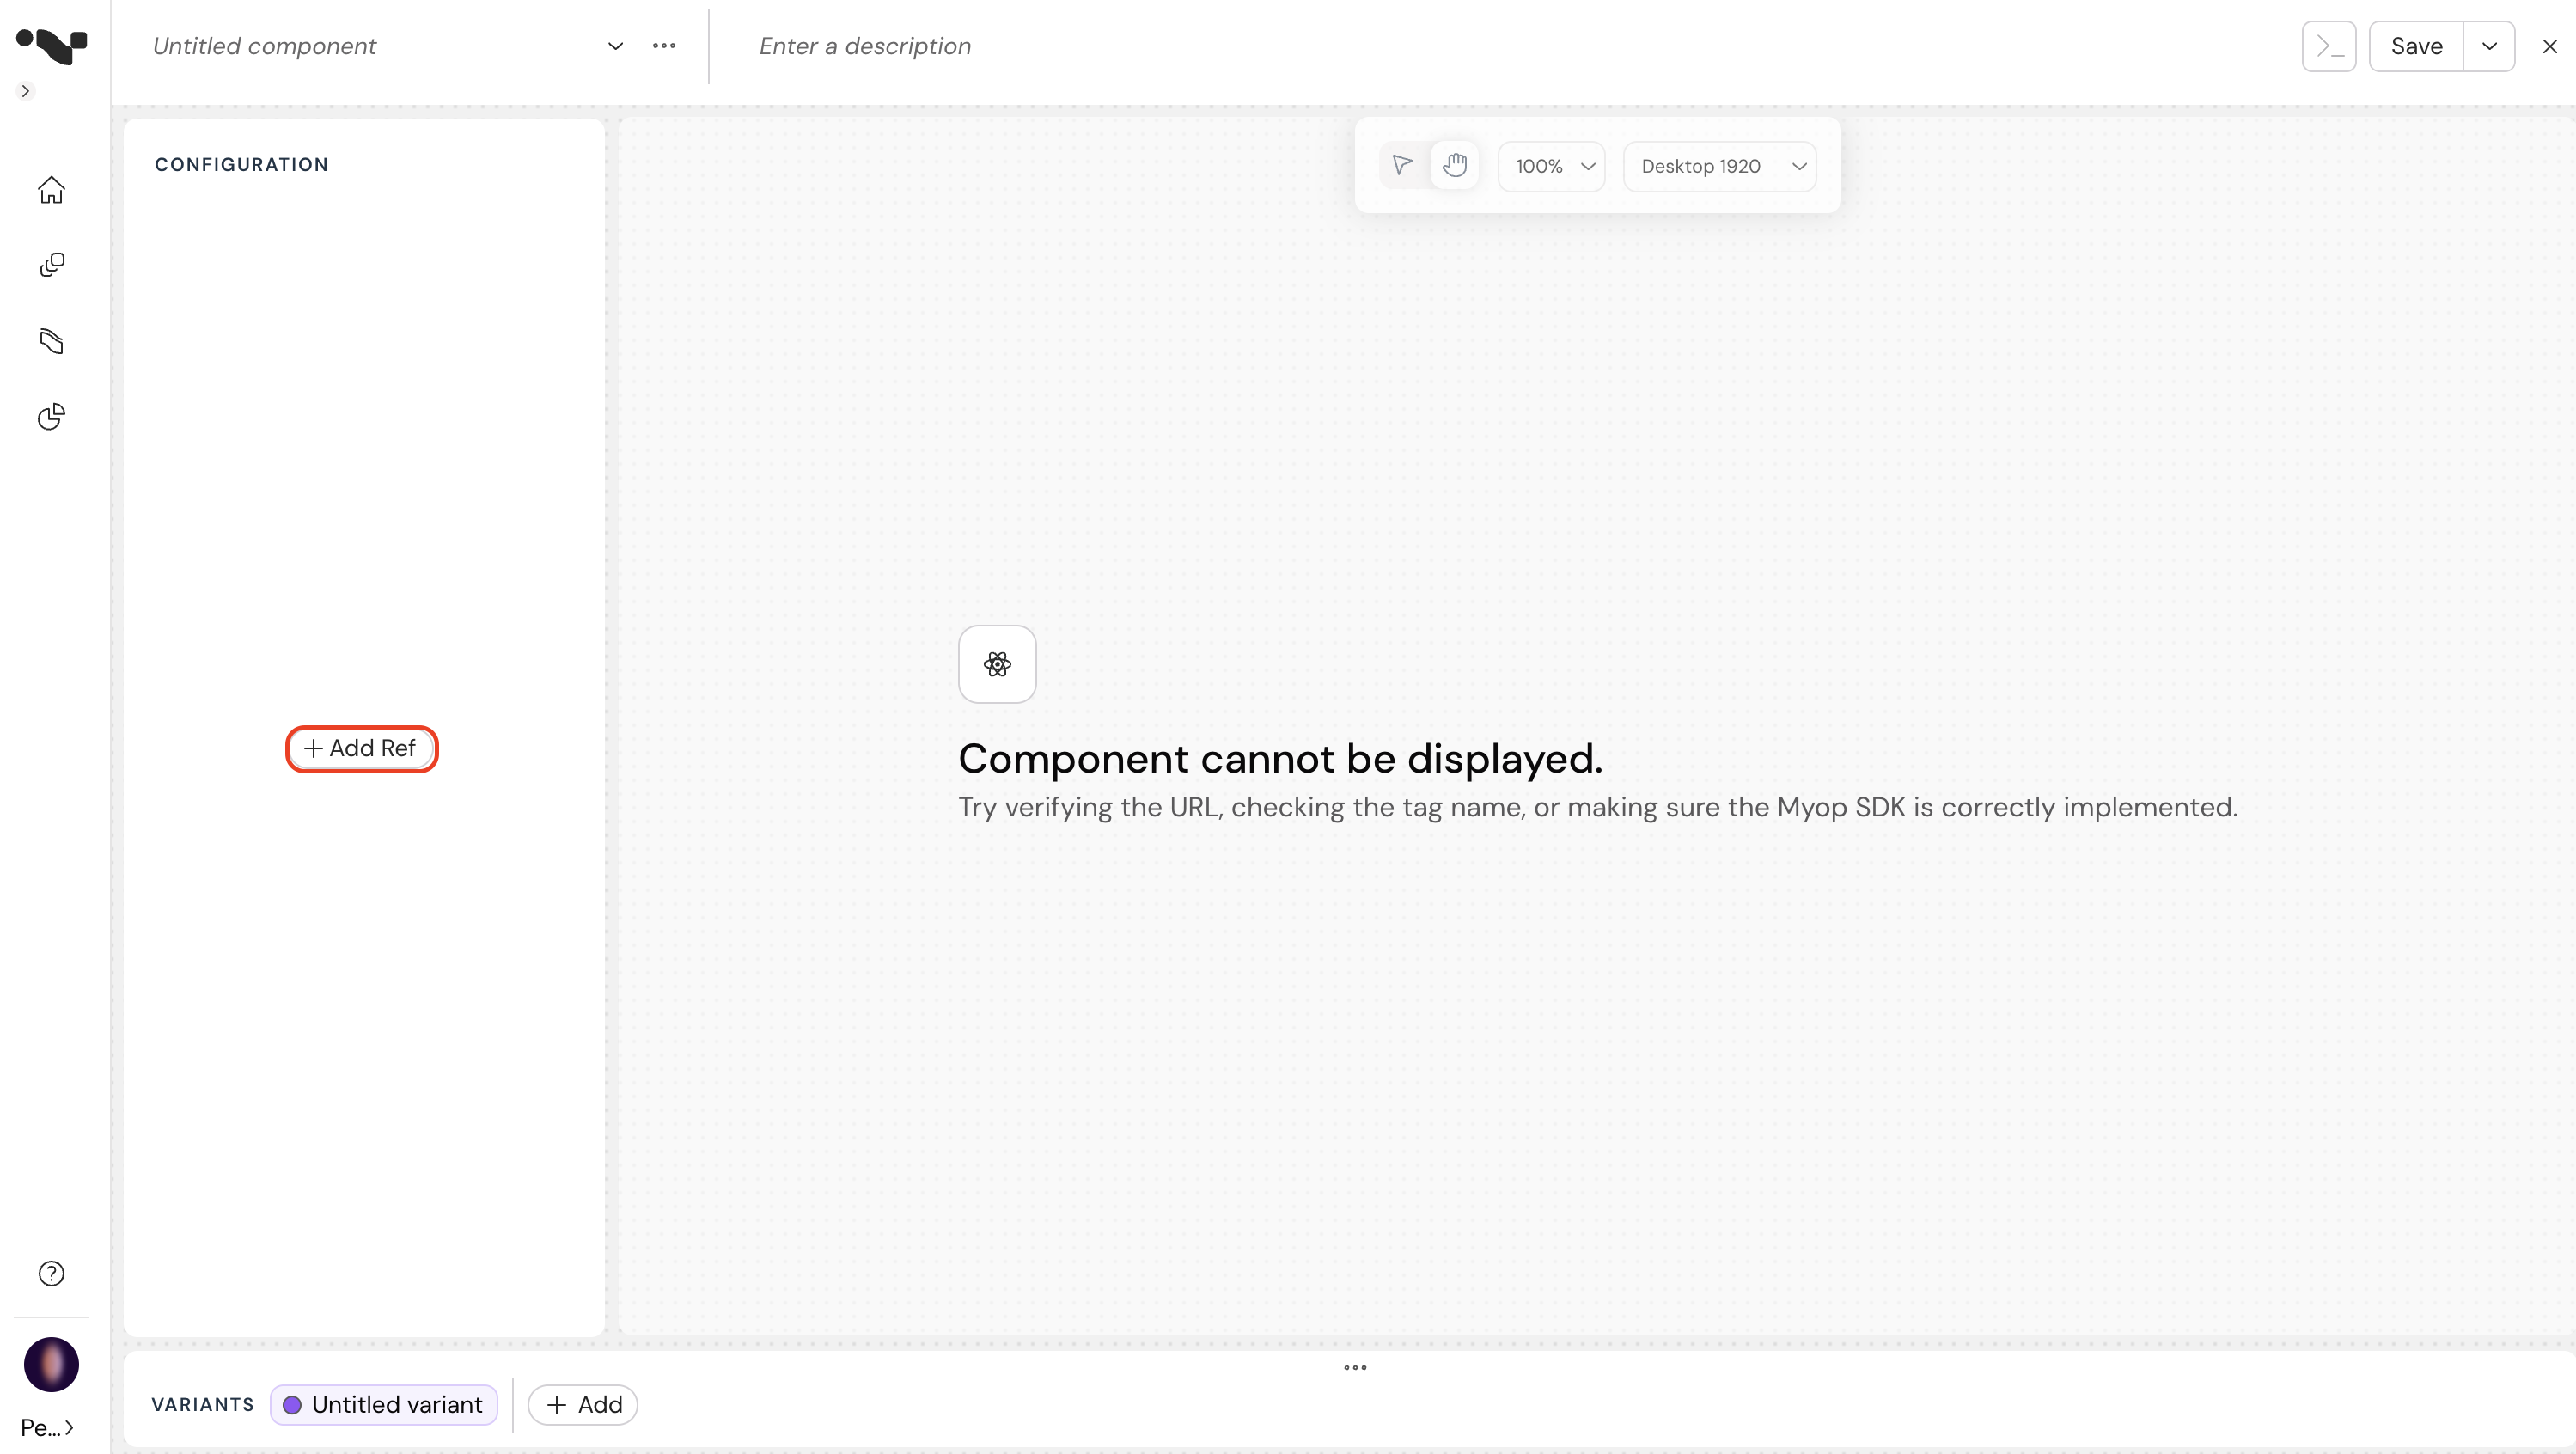
Define how this component connects to your host app using props and refs.
-
If you're using a template, you can add all detected refs. Otherwise, use the configuration panel to add your own refs and props.
-
Configure your component:
- Enter the component name and description.
- Enter your component URL (e.g., http://localhost:4400/main.js).
- Enter the tag name that you exposed the component with.
- Click on the "view source code" button to view the React code example .
- Click on the "Set to default" to set the relevant variant as the default one.
- Click on the Delete button to delete a variant.

Note: The GUID in the browser URL is the componentId that you'll need later
-
Saving:
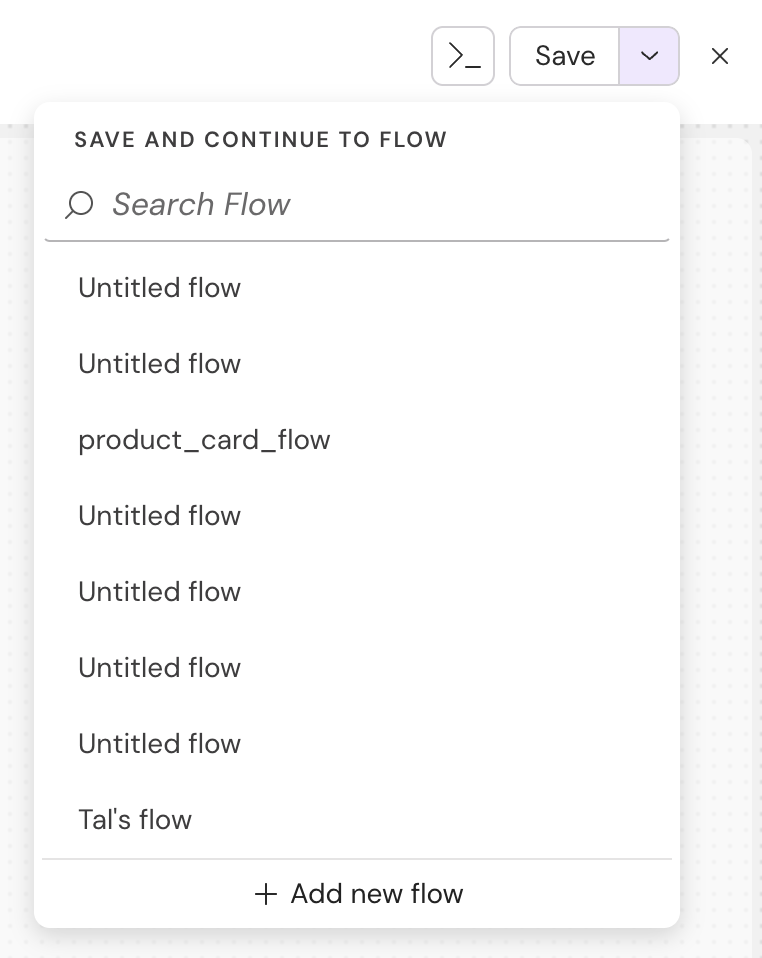
- If you want to save the component, click on the "Save" button
- If you want to attach the component to an existing "Flow", Click on the ChevronDown button to search for the relevant flow
- If you want to attach the component to a new flow, click on the (after the component itself was already saved)
-
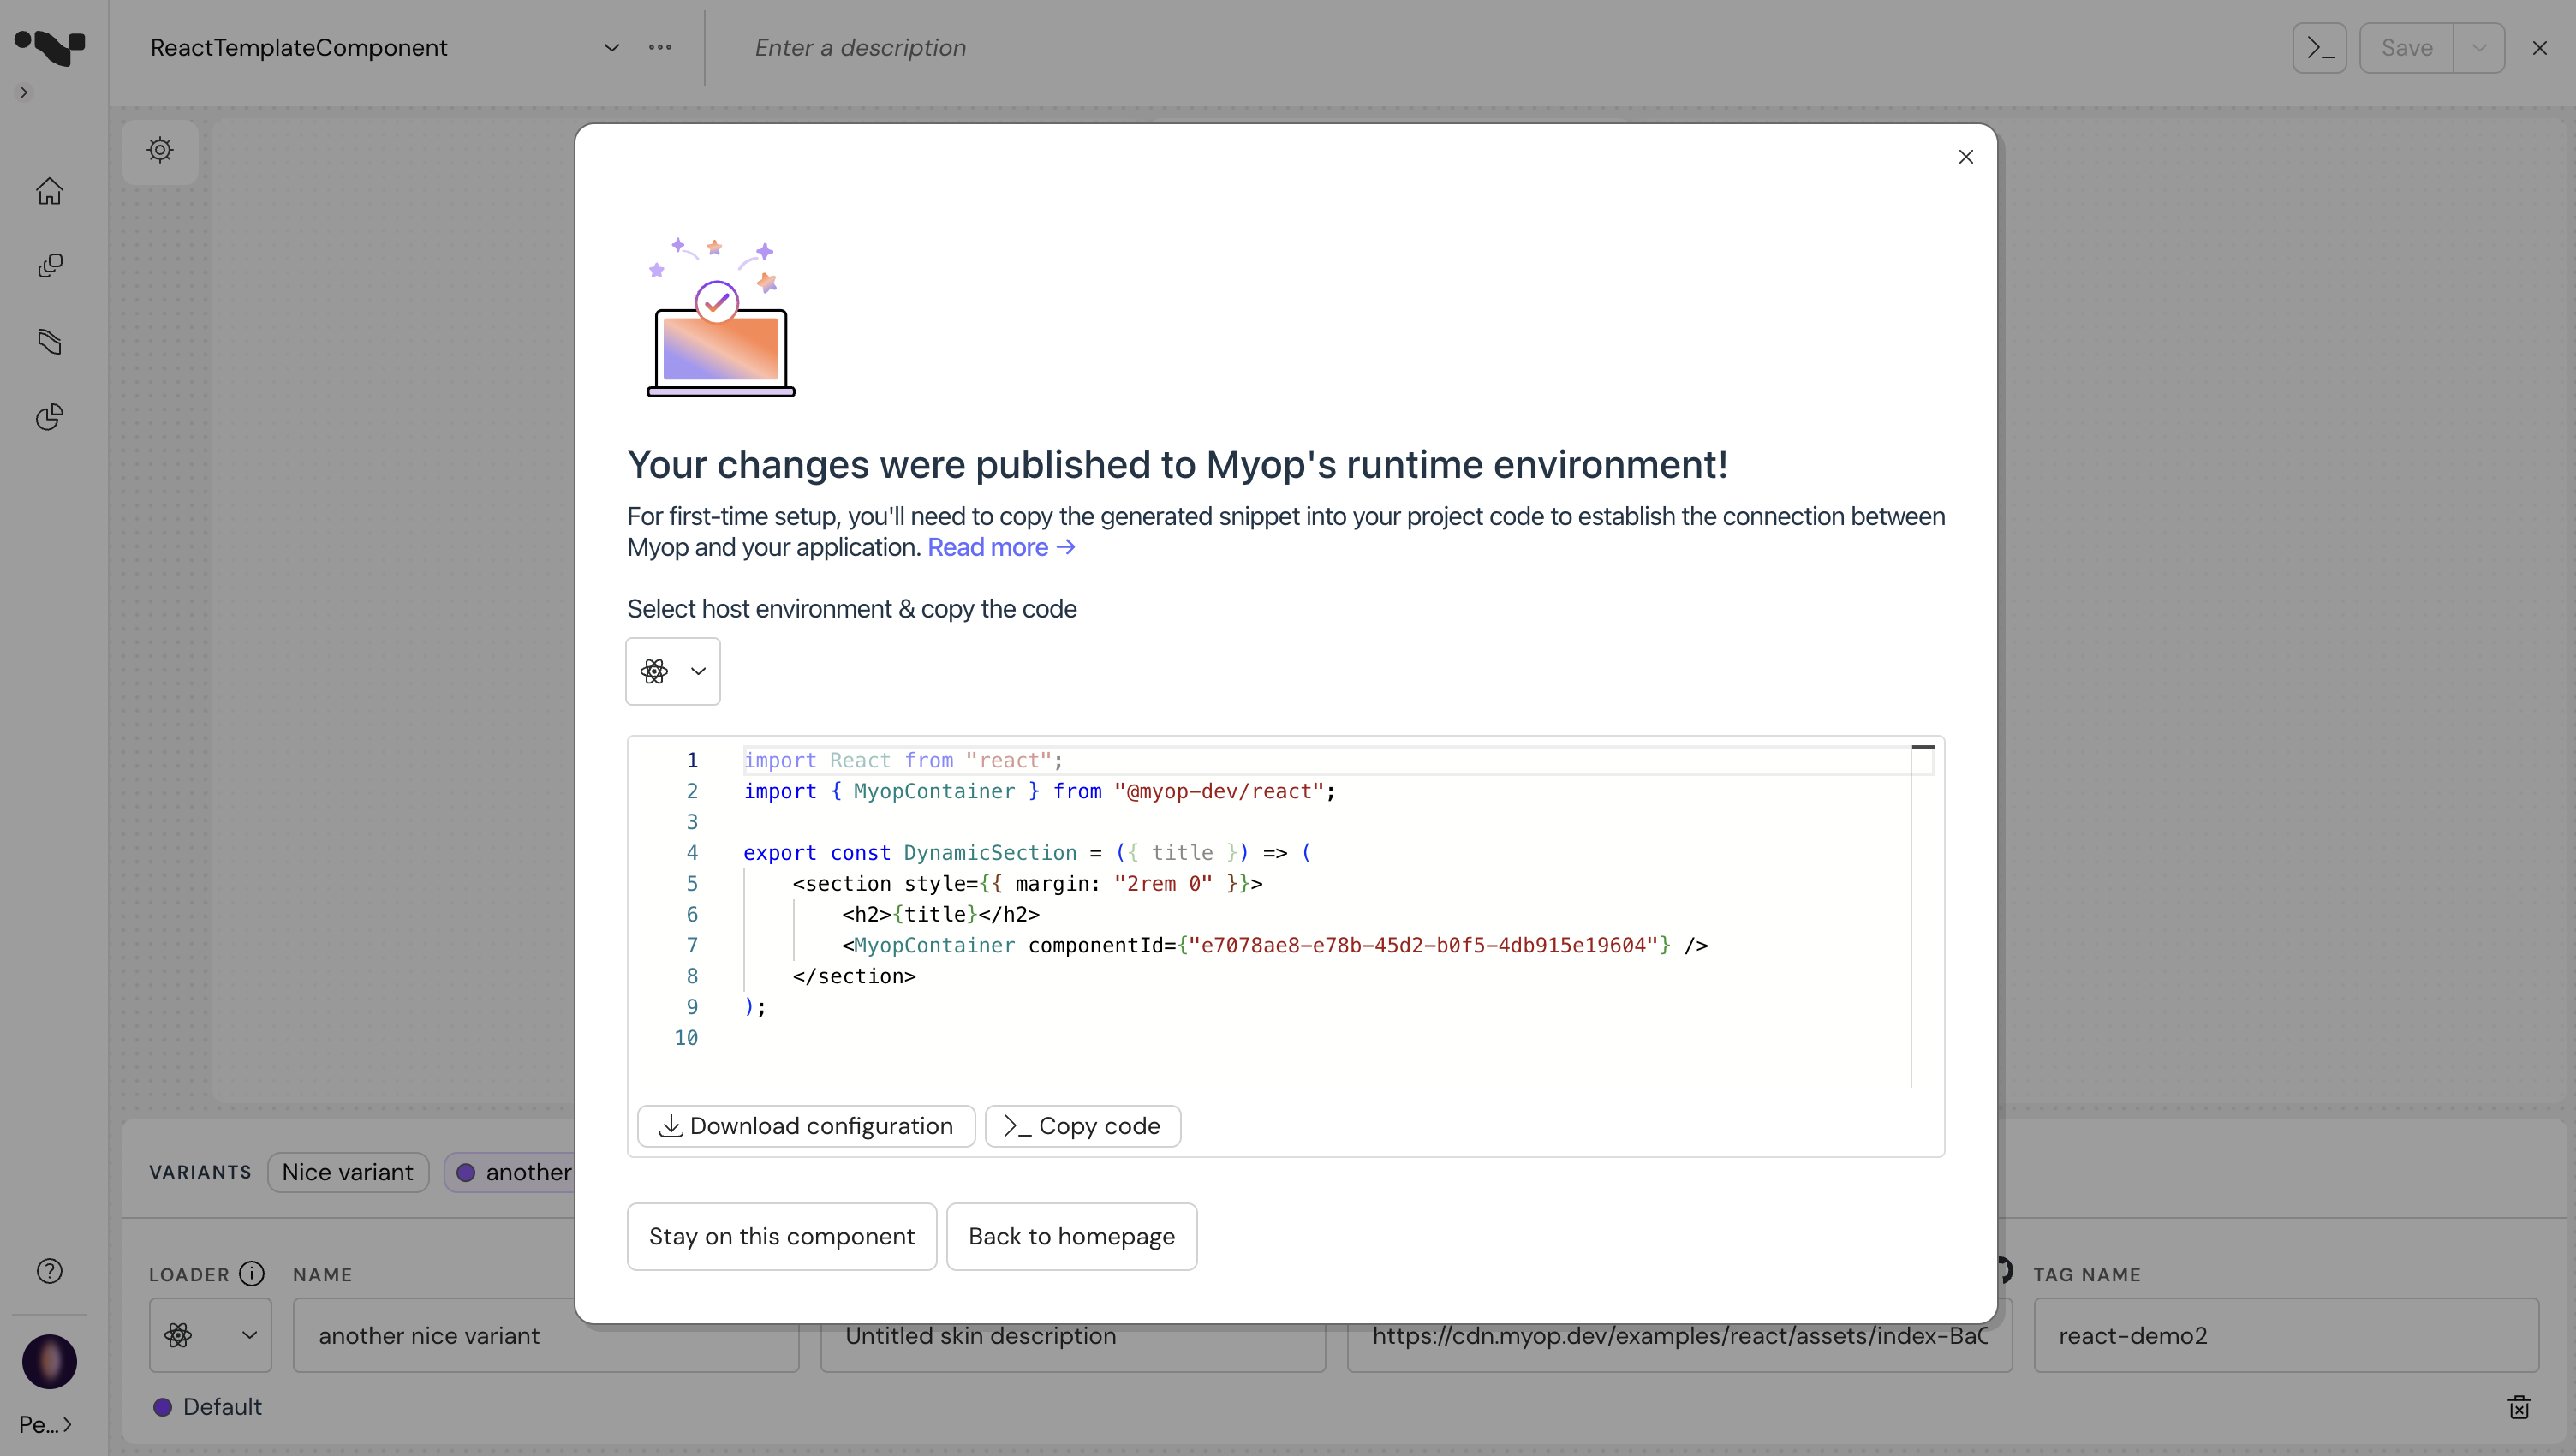
The component is saved and published! You can copy the code snippet and add this to your host application.
Creating Flows
-
Open the Myop dashboard

-
Click on the "Create a new flow" button to add a new flow.
-
Add your component to the flow:
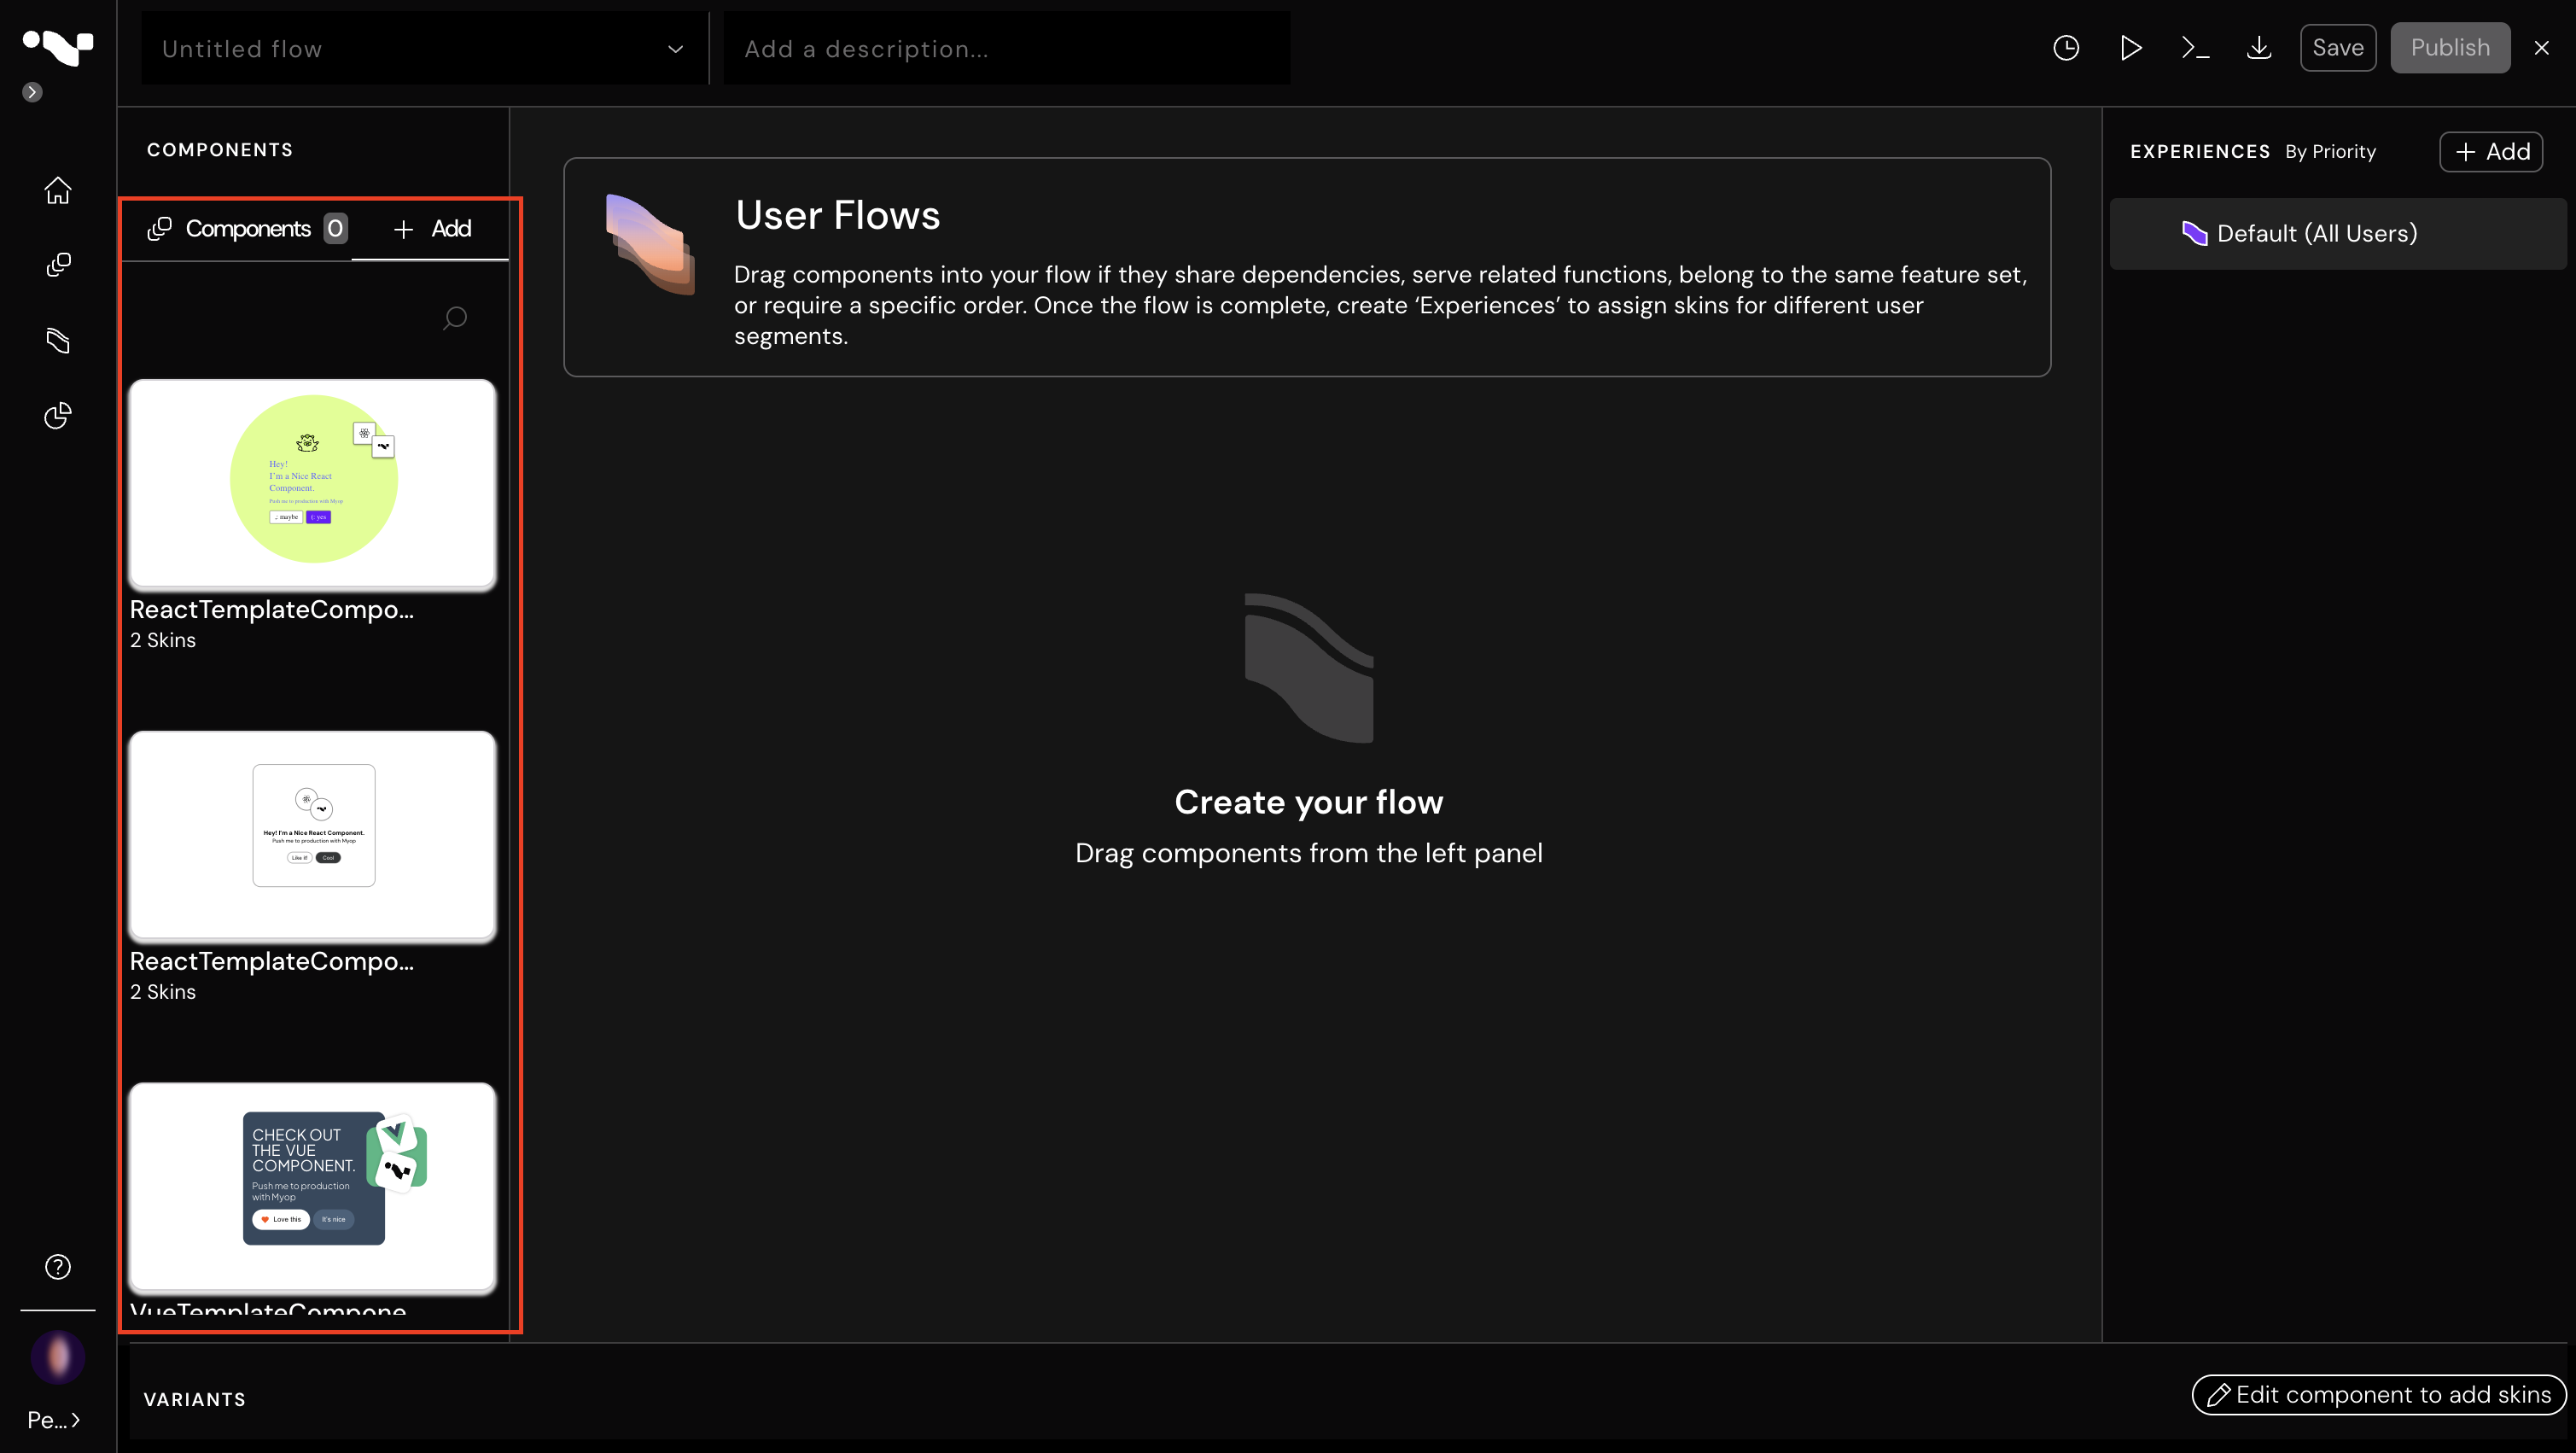
Note: The GUID in the browser URL is the flowId that you'll need later.
Using Myop Components in React
You can integrate Myop components into your React application like so:
import {MyopContainer} from "@myop/react";

export const Component = ()=> {
    return <MyopContainer
               componentId={'8c72d29b-c8a0-41cf-b08f-4acca96c7a16'}
               flowId={'49283058-a787-4fa5-b0d2-516b2e6dc5e3'} />;
}
Communication with React Components
The MyopContainer component accepts any props that are passed down to the component, which can include a wide variety of data types. This may consist of simple primitive values, complex objects, functions, and even non-serializable objects.
The MyopContainer component also provides a componentReady event that you can use to communicate with your react component.
<MyopContainer
        componentId={'8c72d29b-c8a0-41cf-b08f-4acca96c7a16'}
        flowId={'49283058-a787-4fa5-b0d2-516b2e6dc5e3'}
        someProp1="123"
        someProp2="456"
        onReady={(myopComponent)=>{}}
/>
Additional Resources
- For more information on the Myop platform, visit our website.
- For API documentation, refer to our docs.